If you’re new to Anaconda, start here: What is Anaconda for Python? (#1)
If you’re a Windows user, go here: Installing and using Anaconda for Python on Windows
Download the Anaconda Distribution from anaconda.com/download.
Run the installer following the instructions it gives you. When complete, launch the Anaconda Navigator. If it prompts you to do any updates, click yes.
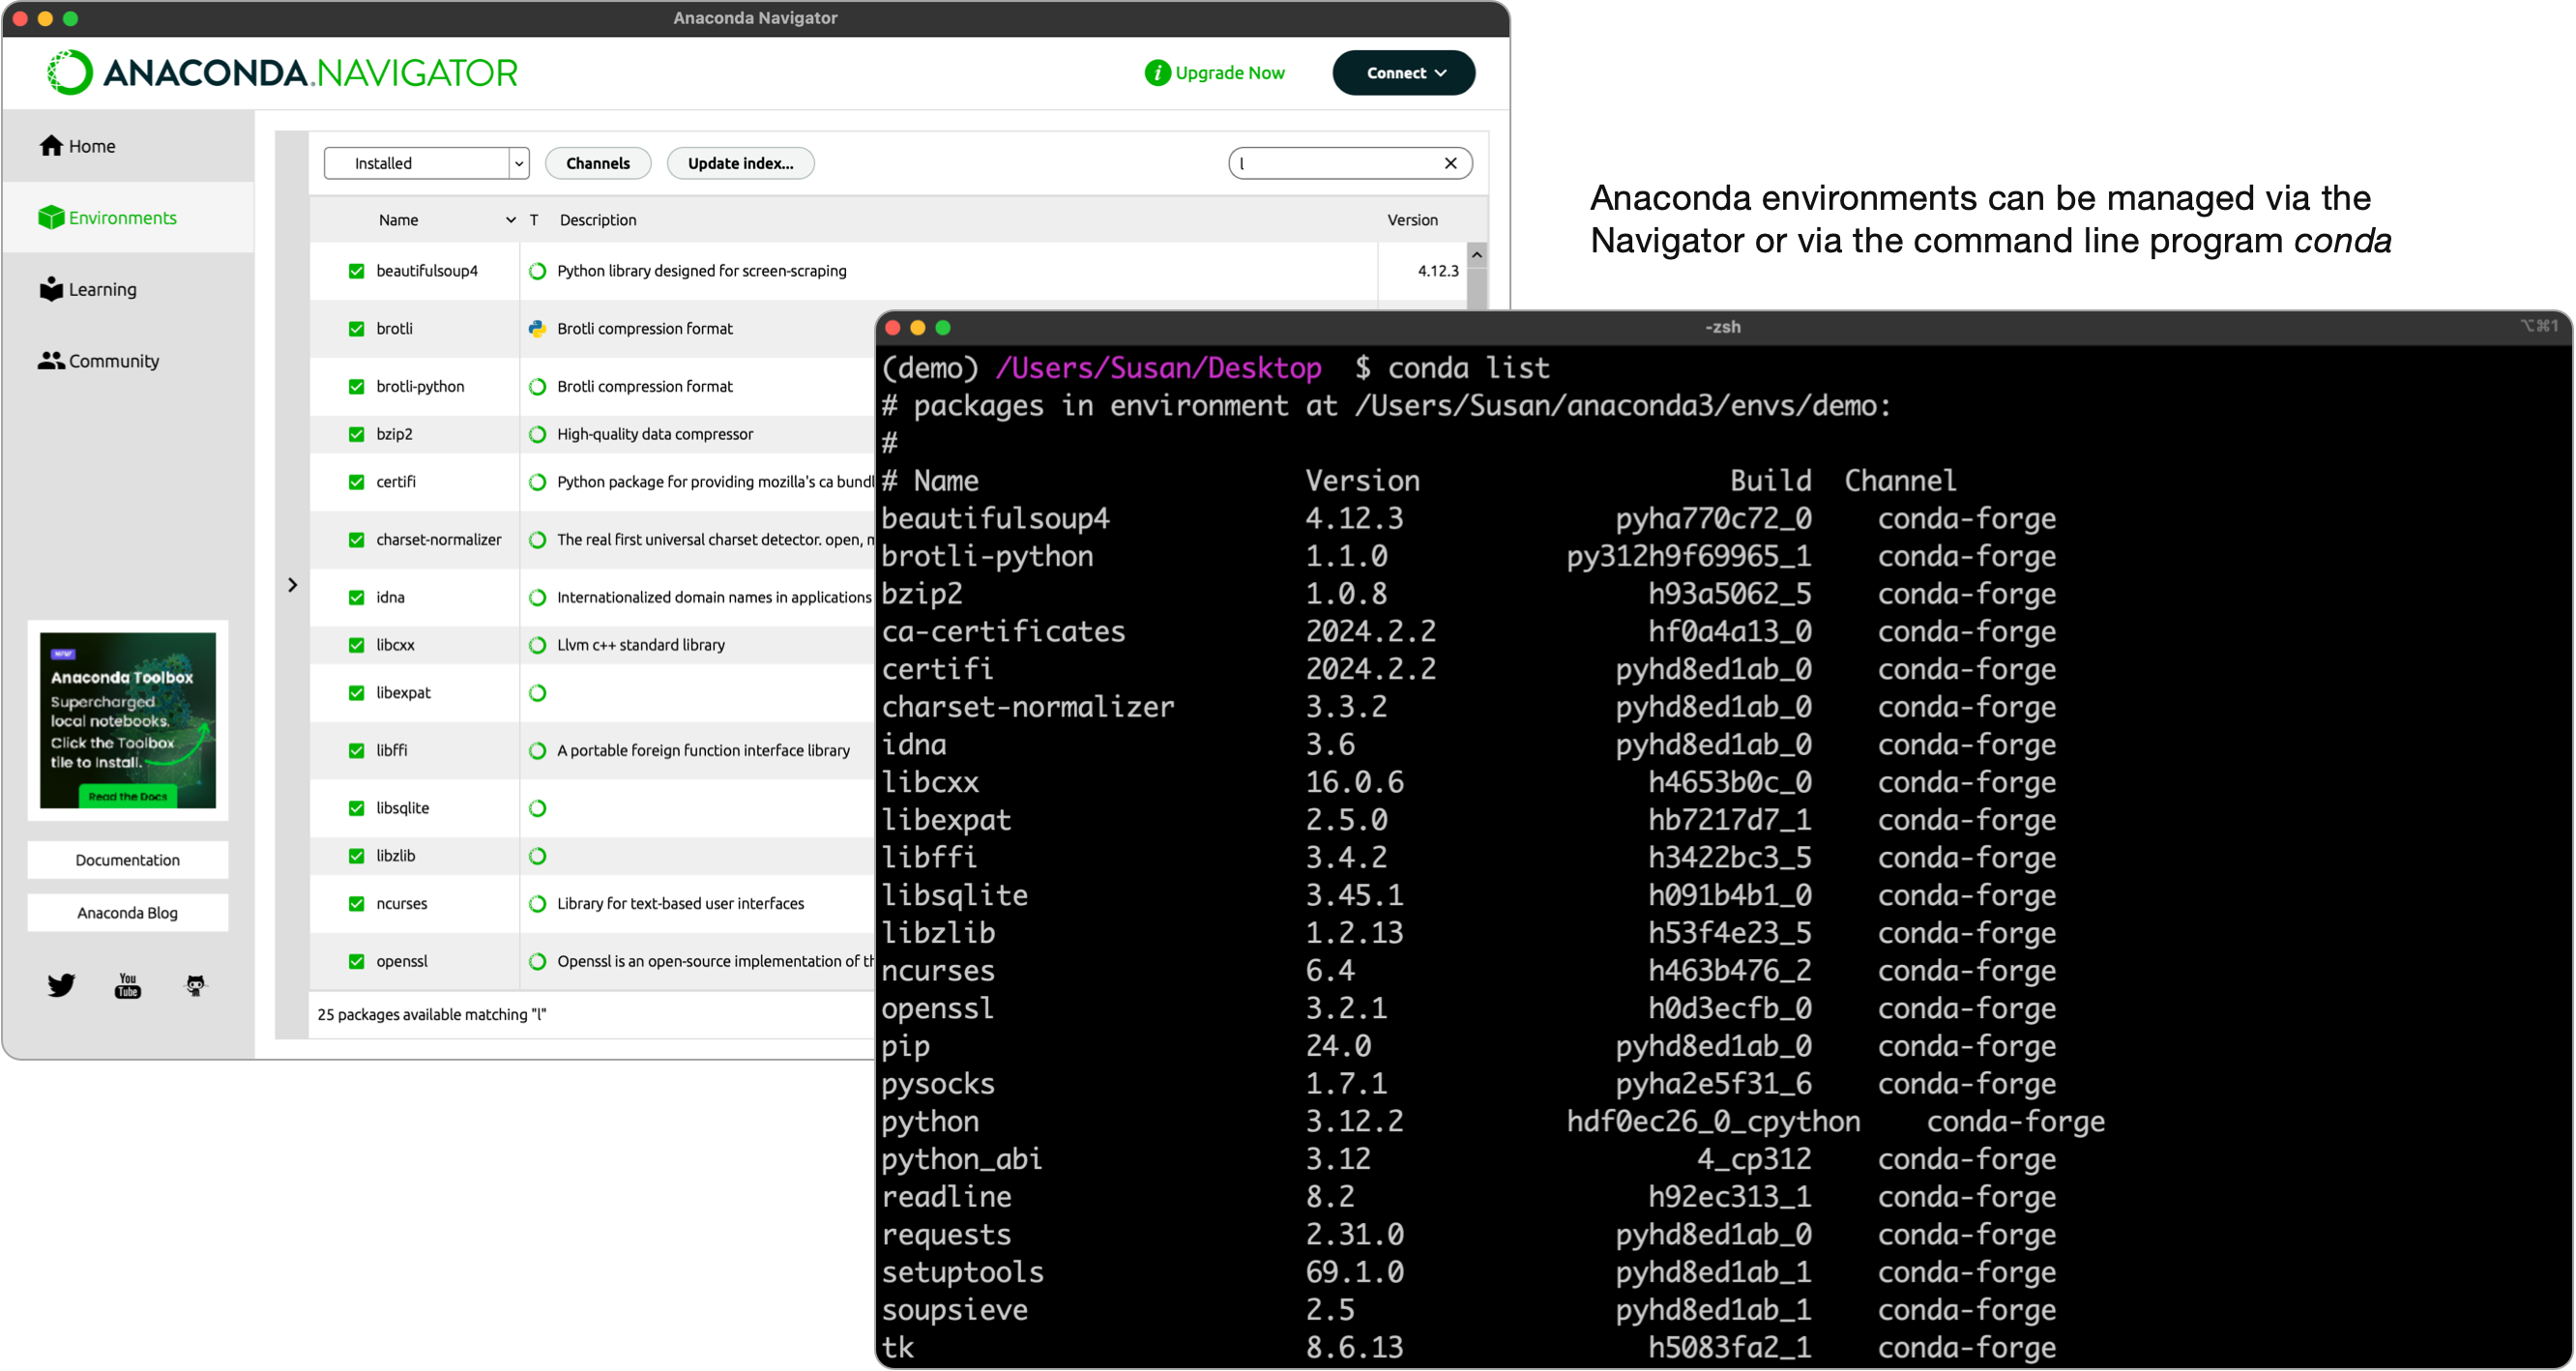
The Anaconda Navigator is a visual interface for working with the tools and programs Anaconda provides. In this guide, we’ll be highlighting environment and package management, which can be done via the Environment tab in the Navigator.
Alternatively, this management can be done via conda, the command line program that comes with Anaconda. This latter approach is the one we’ll focus on as it’s the more robust option.

In Anaconda, an environment is an isolated workspace that allows you to manage and organize installations of Python and its packages. Environments help avoid conflicts between different projects that may have different version requirements for their dependencies. Environments also make it easy to reproduce workspaces which is helpful if you’re working on a project with a team of other developers.
To create your first environment, we’ll call it demo, run the following in command line:
> conda create --name demo
Once your environment is created activate it with the conda activate command:
> conda activate demo
Your command prompt should be prefixed with the name of the currently active environment, e.g.:

Within our new environment we can install Python with the conda install command:
> conda install python
In the example program we’re about to create we’ll also need packages called requests and beautifulsoup4, so install them as well:
> conda install requests
> conda install beautifulsoup4
To find and learn about other packages you might use in a Python project, check out the following repositories:
pip is installed when you install Python and you can add pip packages via the command pip install <package-name>With your environment set up, let’s run an example Python script that will scrape AccuWeather.com for the current temperature in a given location (Cambridge, MA in this example).
I’ll create this program on my Desktop and name it demo.py:
import requests
from bs4 import BeautifulSoup

# Specify the URL
url = "https://www.accuweather.com/en/us/cambridge/02143/weather-forecast/329319?city=cambridge"

# Adding headers to simulate a web browser request
headers = {
    'User-Agent': 'Mozilla/5.0 (Windows NT 10.0; Win64; x64) AppleWebKit/537.36 (KHTML, like Gecko) Chrome/91.0.4472.124 Safari/537.36'
}

# Send a GET request to the URL
response = requests.get(url, headers=headers)

# Check if the request was successful (status code 200)
if response.status_code == 200:
    # Parse the HTML content with BeautifulSoup
    soup = BeautifulSoup(response.text, 'html.parser')

    # Find the div with class "temp"
    temp_div = soup.find('div', class_='temp')

    # Check if the div was found
    if temp_div:
        # Extract and print the contents of the div
        temperature = temp_div.get_text(strip=True)
        print(f"Temperature in Cambridge: {temperature}")
    else:
        print("Div with class 'temp' not found on the page.")
else:
    print(f"Failed to retrieve the page. Status code: {response.status_code}")
With the file created, we can run it with this command:
> python demo.py
Example output:
(demo) /Users/Susan/Desktop  $ python demo.py
Temperature in Cambridge: 40°F
Create an environment:
> conda create --name myenv
Activate an environment:
> conda activate myenv
Deactivate the current environment:
> conda deactivate
List all environments:
> conda info --envs
Remove an environment:
> conda remove --name myenv --all
Install a new package
> conda install packagename
List installed packages:
> conda list
List installed packages, filtering results by a package name
> conda list packagename
No subscriptions, no auto-renewals.
Just a simple one-time payment that helps support my free, to-the-point videos without sponsered ads.
Unlocking gets you access to the notes for this video plus all 200+ guides on this site.
Your support is appreciated. Thank you!