I was having an issue where videos exported from DaVinci Resolve were washed out / desaturated. These projects contained videos taken on an iPhone 14 and I am using a Mac.
After trial and error with a lot of solutions found online, I landed on two different fixes that got me the results I was looking for. Below is a screenshot of the rendered results from both fixes.

Fix #1 should be used if you need to globally fix the colors of all the clips in your video. Fix #2 should be used if you have a mixture of clips from different sources where only some of them have the washed out issue.
As an example, I had a project that was a combination of regular iPhone videos and also iPhone timelapse videos. The timelapse videos did not have the washed out issue, so if I applied Fix #1, those clips would end up being too saturated. By using Fix #2 I was able to selectively fix just the clips that were washing out.
Before applying these fixes, be sure to first apply the global setting change described here:
Before applying either of the fixes outlined below, in DaVinci general preferences make sure Use Mac display color profiles for viewers is checked.

My understanding is this makes it so DaVinci uses a color profile setting saved on and specific your Mac. Both of the fixes described below required this setting to get the desired results.
In export settings under Advanced Settings set:
Rec.2020ARIB STD-B67 HLG
I choose these settings because they’re the closest match to the color profile info of my original footage (taken from an iPhone 14). To find this info, I right clicked my original footage files and chose Get Info. Here I saw the Color Profile was BT.2020 HLG (9-18-9):

According to Wikipedia BT.2020 = Rec.2020 (ref) and ARIB STD-B67 HLG is the only Gamma Tag DaVinci has listed that mentions HLG.
That was my reasoning, and I have no idea if it’s correct, but it was a setting that finally gave me decent results on my export.
The above settings addressed my washed out exports, but I also needed to address how the footage appeared washed out when I was working with it in DaVinci.
I do this, I accessed my Project settings (accessible from the cog on the bottom right of the screen) and under Color Management set:
Rec.2020 (Scene)Same as Timeline
To make these project settings universal for other projects, click the three dots on the top right and choose Set Current Settings as Default Preset.
Note that these project settings are different from my export settings.
Rec.2020 (Scene)Rec.2020 ARIB STD-B67 HLGI found that if I used the same export setting in the project, the videos appeared too saturated in DaVinci. Via trial an error, I found the project setting of Rec.2020 (Scene) was the closest match to the original footage. It wasn’t perfect - was still slightly washed out - but it was close enough to edit with.
For Fix #2, we’re going to apply a LUT (Lookup Table) to our clips which is essentially a data file with color adjustment details.
For this fix, in my Project Settings (accessed via cog on bottom right of screen) under Color Management > Timeline color space I choose Rec.709a. This will show your clips in their washed out state in the timeline so you can see the difference once they’re fixed with the LUT.

The LUT we’ll use is from FilmicPRO; here is a download link:
https://www.filmicpro.com/downloads/Filmic_Pro_deLOG_LUT_Pack_May_2022.zip
Once the download is complete, uncompress the zip and you will end up with a folder called FiLMiC_Pro_deLOG_LUT_Pack_May_2022.
To make this LUT folder accessible in DaVinci, go to your project settings (cog on bottom right of screen) and under Color Management > Lookup Tables click the Open LUT Folder button:

This will open the directory where DaVinci LUT files are stored (/Library/Application Support/Blackmagic Design/DaVinci Resolve/LUT/). Drag the FiLMiC_Pro_deLOG_LUT_Pack_May_2022 folder into this directory.

Back in project settings click Update Lists to make sure DaVinci recognizes the addition of these new LUTs:

After saving your project settings, switch to the Color tab and select a clip you want to fix the colors on.
In the LUTS panel, locate LUT FiLMiC_Pro_deLOG_LUT_Pack_May_2022 > 10-bit_SDR_LUTs_iOS_only > FiLMiC_deHLG_V3.cube and drag it onto your clip node on the right.

After applying the LUT, the saturation of your clip in the timeline should no longer be washed out. To emphasize the difference, use the keyboard shortcut Shift + D to toggle the LUT on/off.
To apply a LUT to multiple clips, select multiple clips and right click them then choose Add into a new group. Come up with a name for your group (e.g. iPhoneColorFix).
Once the group is created, switch the dropdown option on the top right from Clip to Group Post-Clip. Then, just as you did previously, drag the FiLMiC_deHLG_V3.cube LUT onto the group node on the right.

When rendering videos using this fix, under Advanced Settings in your export options set:

This will use the color space we used in our project settings (Rec.709a). The exported videos should then look the same as they did in your timeline, with the colors fixed from the LUTS you applied.
No subscriptions, no auto-renewals.
Just a simple one-time payment that helps support my free, to-the-point videos without sponsered ads.
Unlocking gets you access to the notes for this video plus all 200+ guides on this site.
Your support is appreciated. Thank you!
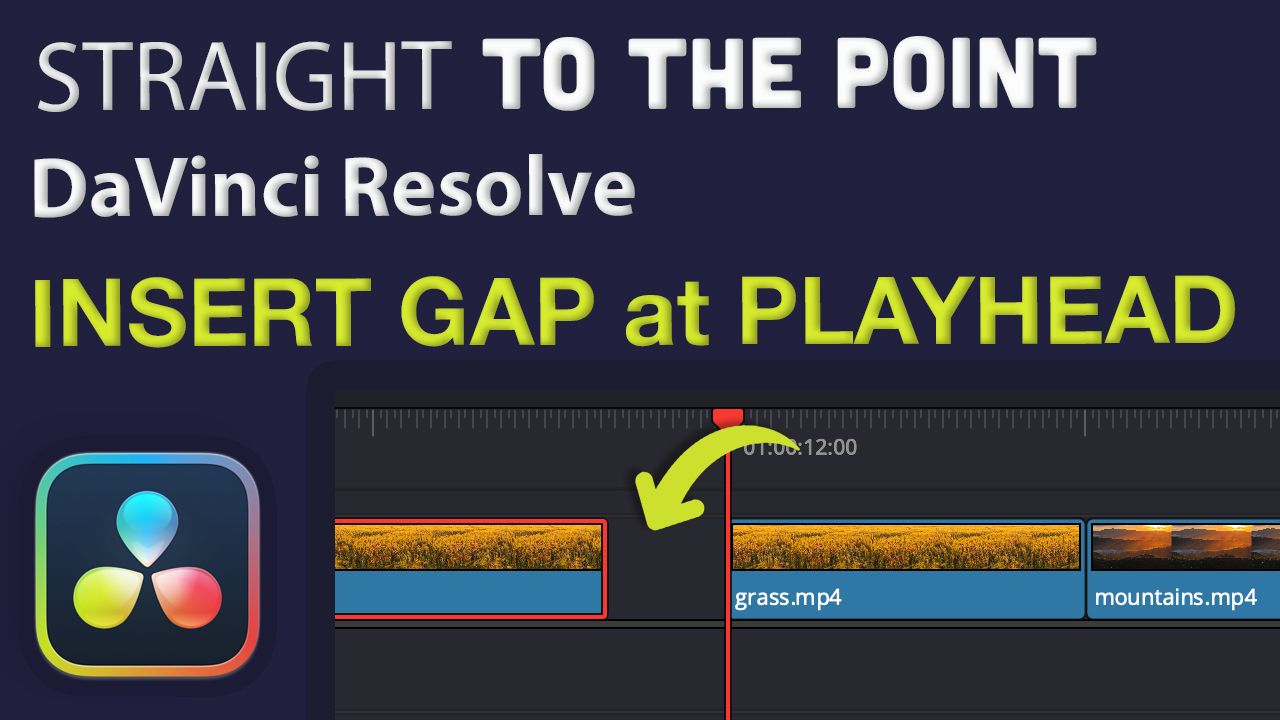 Insert a Gap at the Playhead in DaVinci Resolve
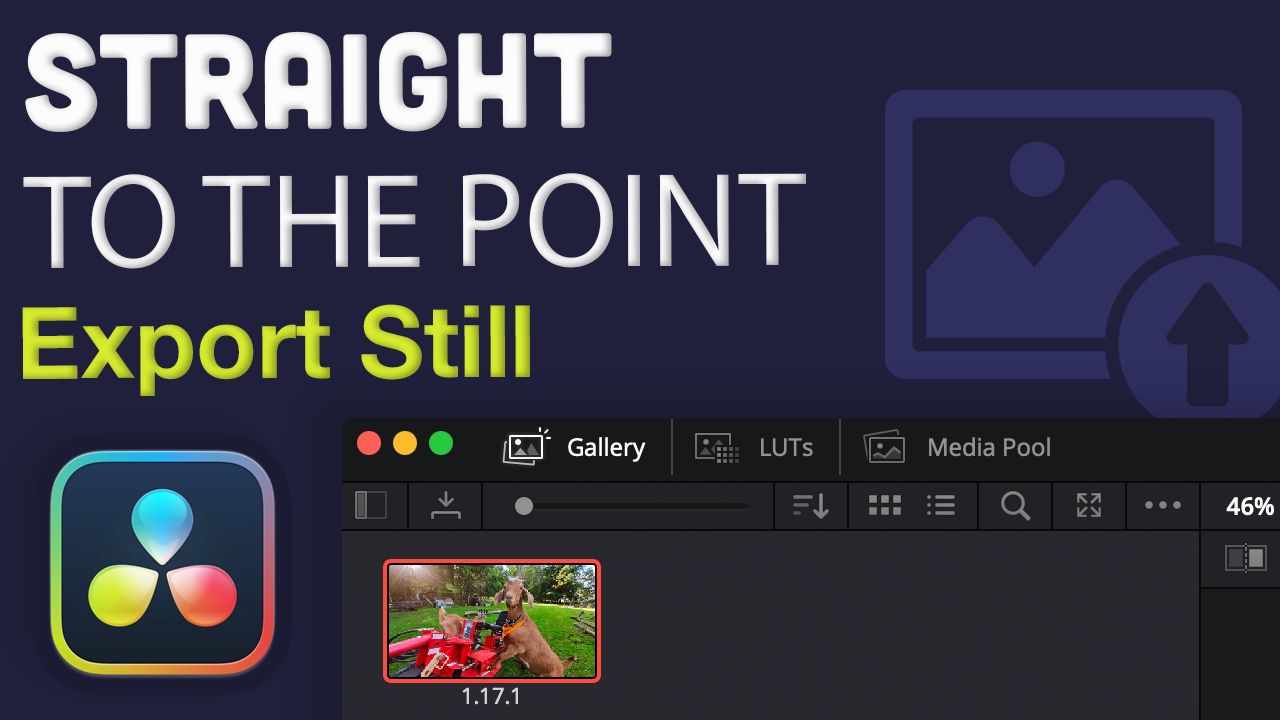 Export a still image in DaVinci Resolve
 Smoother Editing in DaVinci Resolve with Proxy Media