DaVinci Resolve version 20 introduced a new Voiceover Tool which makes it super simple to record voiceovers.
In this guide, we’ll walk through how to set up and record a voiceover step by step.
To get started, go to:
Timeline → Record Voiceover
This opens the voiceover panel, where you can configure your recording settings.
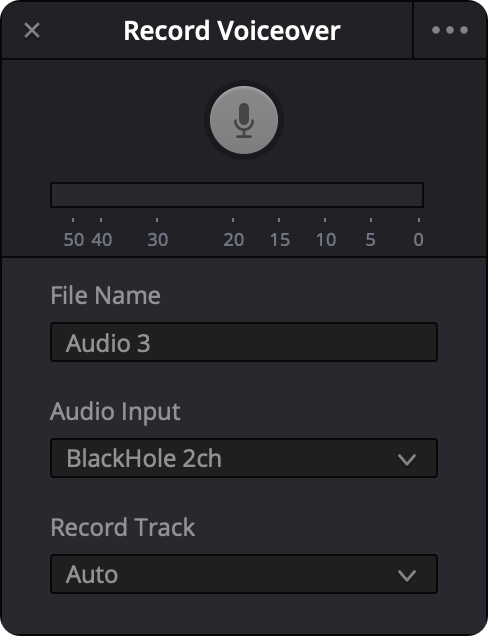
Before recording, you’ll want to adjust a few key settings.
Start by choosing a file name for your recording. This helps keep your project organized, especially if you’re recording multiple takes.
Next, select your audio input. This should be the microphone you want to use. If you have multiple devices connected, make sure the correct one is selected.
You can also choose which track the recording will be placed on. Setting this to Auto works well in most cases, as Resolve will automatically place the audio on an available track.
For more options, click the three dots on top of the Voiceover Tool panel.
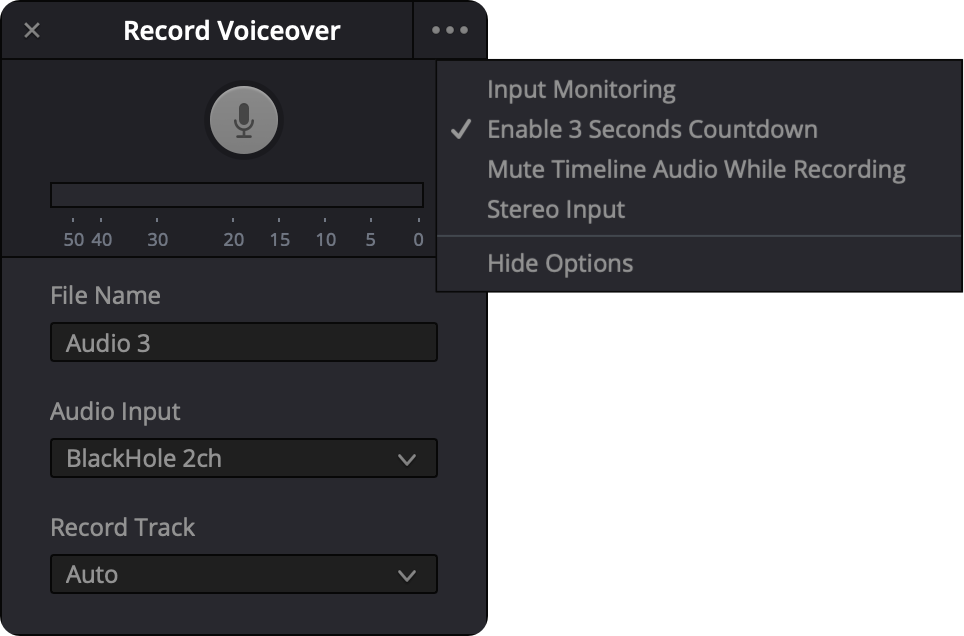
If you want to hear yourself while recording, you can enable Input Monitoring. This sends your microphone input back through your headphones or speakers.
You can also enable a 3-second countdown, which gives you a moment to prepare before recording starts. This is especially useful for avoiding awkward starts.
Another option is Mute Timeline Audio While Recording, which silences all other audio tracks so you can focus on your voiceover.
Finally, you can enable Stereo Input.
Once your settings are in place, click the Record button.
If you enabled the countdown, you’ll see a short delay before recording begins. Then simply speak into your microphone.
When you’re finished, click the Record button again to stop.
After recording, Resolve will automatically place your voiceover clip on the timeline.
You can immediately play it back, trim it, or adjust its position just like any other audio clip.
 Insert a Gap at the Playhead in DaVinci Resolve
 Automatically Remove Silences in DaVinci Resolve
 Blur something out in DaVinci Resolve