Sometimes you need a quick and straightforward way to “lock down” an entire site, making it inaccessible to the general public.
This might be useful if you’re remotely developing a site on a live/public server and only want it accessible to yourself and collaborators. Or maybe you’re sharing a “work in progress” site with a client on a live/public server for them to approve before you go live with changes.
A common way to do this is using HTTP Basic Authentication. With HTTP auth in place, any visitors to your site will be presented with a simple browser popup asking for some login credentials.

In this note set, I’ll demonstrate how to configure HTTP basic auth on an Ubuntu web server running Nginx.
All the commands in this procedure require admin access. If you are not logged in as an admin user, prefix the following commands with sudo to run them with admin privileges.
Step 1 is to install a set of tools called apache2-utils that will allow us to generate HTTP Basic Auth encrypted passwords:
To to this, first update your server’s package manager:
> apt update
Then install apache2-utils:
> apt install apache2-utils
Next, generate a HTTP Basic Auth user with the following command, where admin is whatever user name you’d like:
> htpasswd -c /etc/apache2/.htpasswd admin
This should prompt with a password which you can come up with.
You can confirm your user was created by viewing the contents of /etc/apache2/.htpasswd:
> cat /etc/apache2/.htpasswd
e2:$apr1$HfQZ/baS$zDBMXmTpv8R5Qx2oRU/x4/
Next, you’ll need to edit the configuration block for the site you’re enabling auth for.
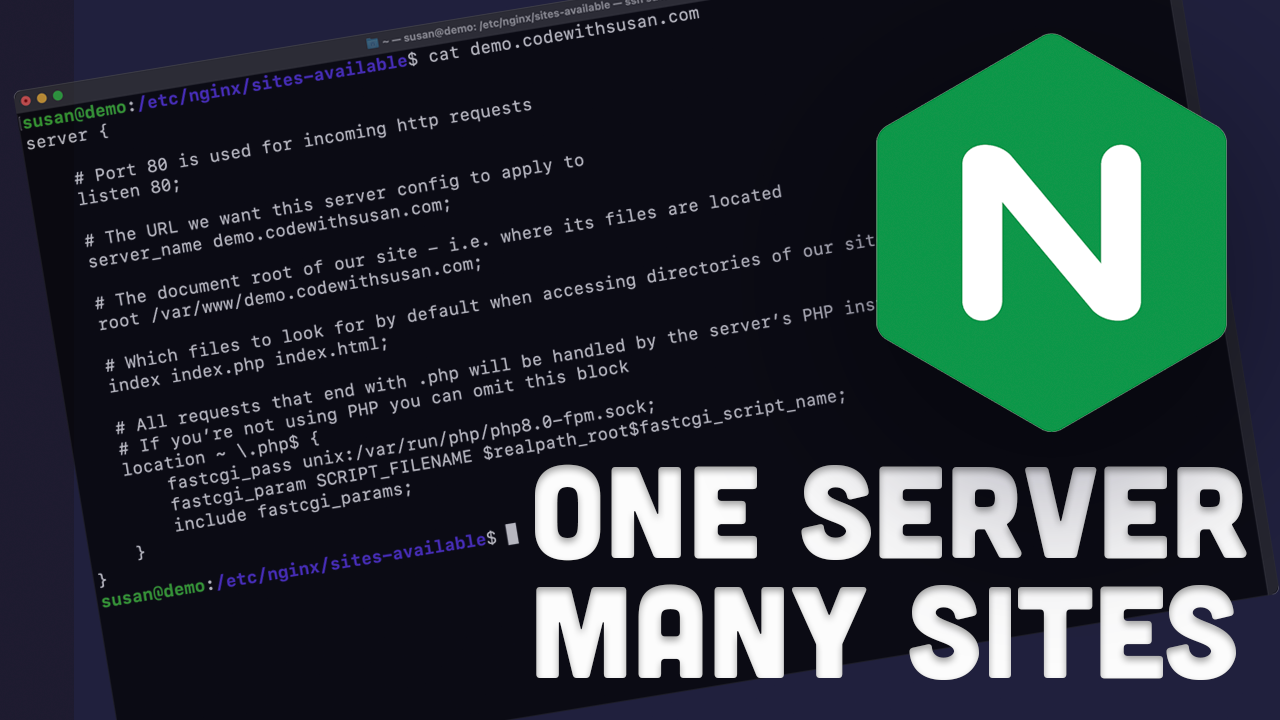
On a Nginx-based server, these configs are found in text files in /etc/nginx/sites-available/, which are then linked to /etc/nginx/sites-enabled/.
Within your sites config block, you’ll need to add the following two lines:
auth_basic "Admin Only";
auth_basic_user_file /etc/apache2/.htpasswd;
As an example...
/etc/nginx/sites-available/demo with the config block shown below (note the presence of the two auth_basic lines)./etc/nginx/sites-available/demo is symbolically linked to /etc/nginx/sites-available/demo, which makes Nginx register this as an active site on the server.server {
auth_basic "Admin Only";
auth_basic_user_file /etc/apache2/.htpasswd;
listen 80;
server_name demo.codewithsusan.com;
root /var/www/demo;
index.php index.html;
location ~ \.php$ {
fastcgi_pass unix:/var/run/php/php8.0-fpm.sock;
fastcgi_param SCRIPT_FILENAME $realpath_root$fastcgi_script_name;
include fastcgi_params;
}
}
When you’ve finished with the above configs, you need to restart your server via the command systemctl restart nginx to make the changes take effect.
To test it works, attempt to visit your site. You should be prompted for a username/password to continue.
Nginx Docs: Restricting Access with HTTP Basic Authentication
No subscriptions, no auto-renewals.
Just a simple one-time payment that helps support my free, to-the-point videos without sponsered ads.
Unlocking gets you access to the notes for this video plus all 200+ guides on this site.
Your support is appreciated. Thank you!
 Configuring sites/URLs on a Nginx web server
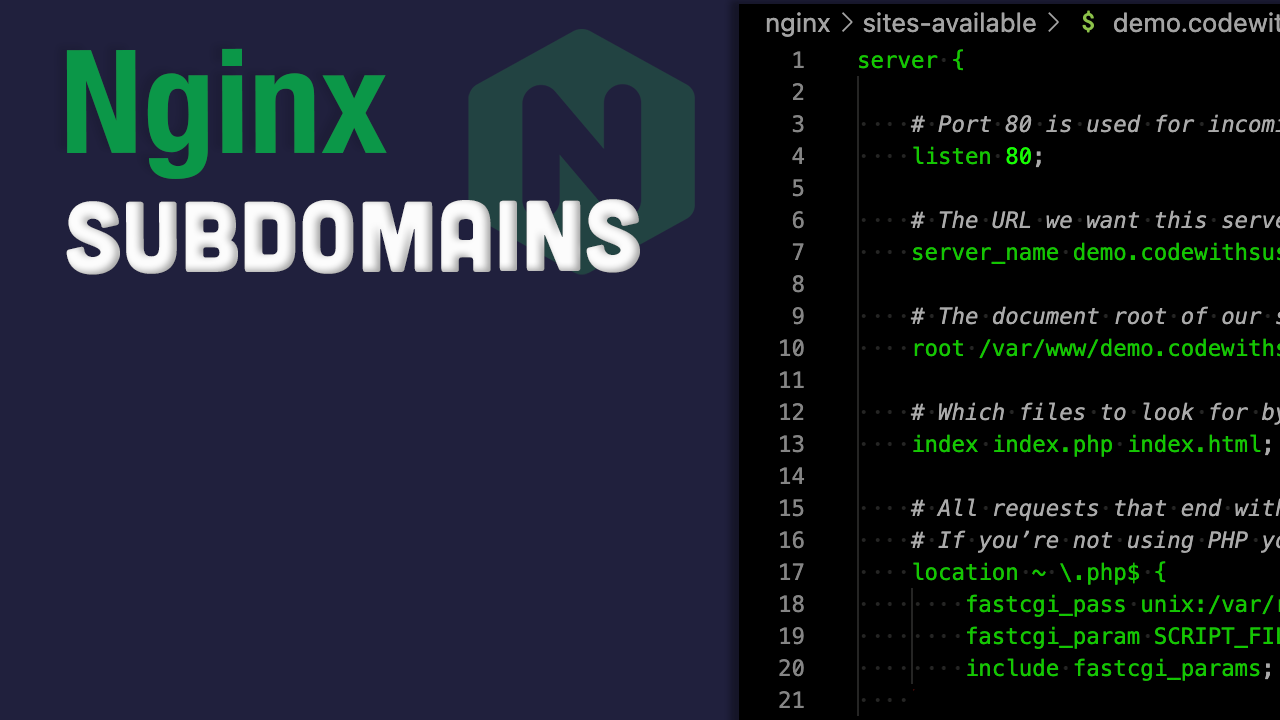 Configuring a subdomain on a Nginx web server
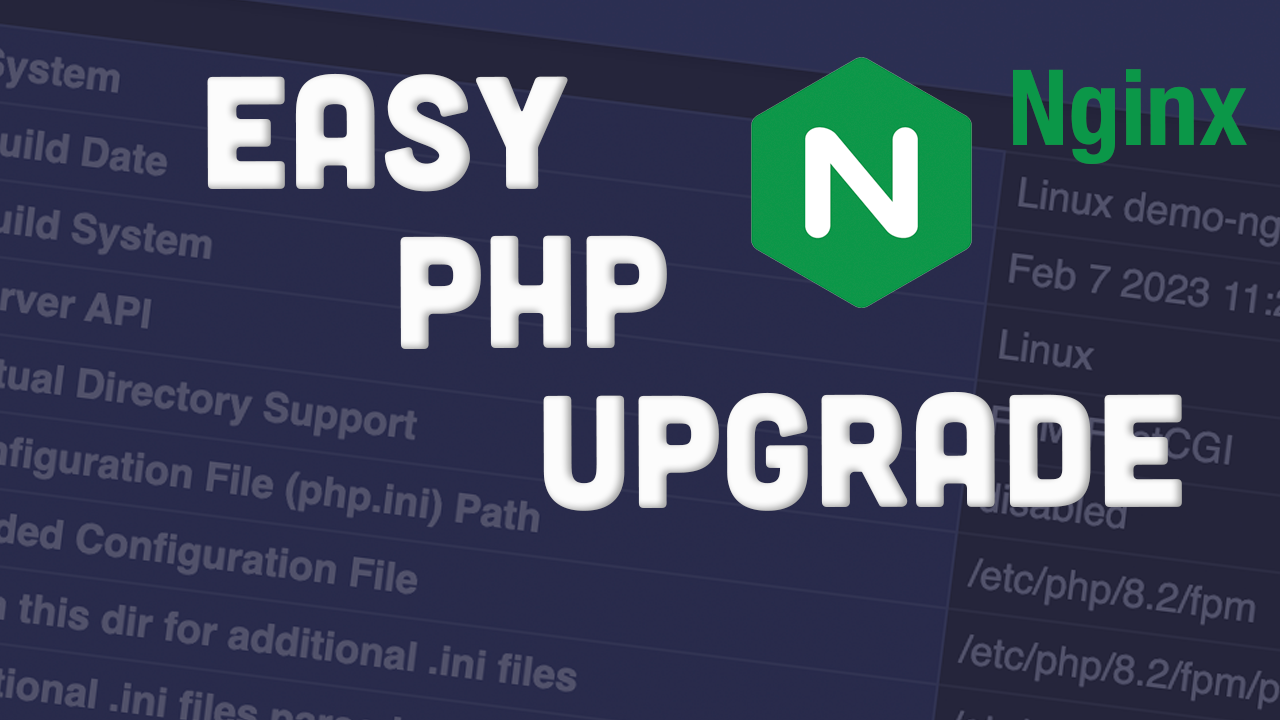 Upgrading to PHP 8.2 (Ubuntu with Nginx)