In this guide we’ll learn how to configure HTTPS on a Apache web server using a free certificate obtained from LetsEncrypt.org.
To enable HTTPS, we need a certificate from a Certificate Authority (CA).
These can be purchased and range in cost from about $5 upwards of $100+ (example price/tier options from Namecheap...).
Alternatively, we can get a free certificate from Let’sEncrypt.org which is a non-profit Certificate Authority.
Using Let’s Encrypt will allow us achieve the goal of encrypting our data transfer, however, it does not offer the same level of domain/server validation that a paid-for certificate will. You should consider a paid-for certificate in any situation where you’re collecting/processing sensitive data (personal information, monetary transactions, etc.) and/or you want to communicate to your users that your site is secure and trustworthy.
Let’s Encrypt certificates can be set up using the command line tool Certbot.
Certbot can be used on both Nginx and Apache web servers and it’s supported on various Linux distributions such us Ubuntu, Debian or CentOS. In this example, we’ll work on an Ubuntu server running Nginx.
To determine if Certbot is installed on your server, run the following command:
> certbot --version
If this returns an error message about the command not being found, you’ll need to install Cerbot. The Certbot web site has good instructions for installation on a variety of server types.
Once you’ve determined Certbot is installed and you know what site(s) you want to set up HTTPS for, run the following command to start the process:
> sudo certbot
The first time you run Certbot it will ask you for an email, to agree to their terms of services, and specify whether or not you will receive newsletter emails from them.

Next it will ask you for the domain of the site you want to activate HTTPS for. In my example, I’ll use the subdomain demo.codewithsusan.com, but this works the same whether you’re using a subdomain or a primary domain (e.g. codewithsusan.com).

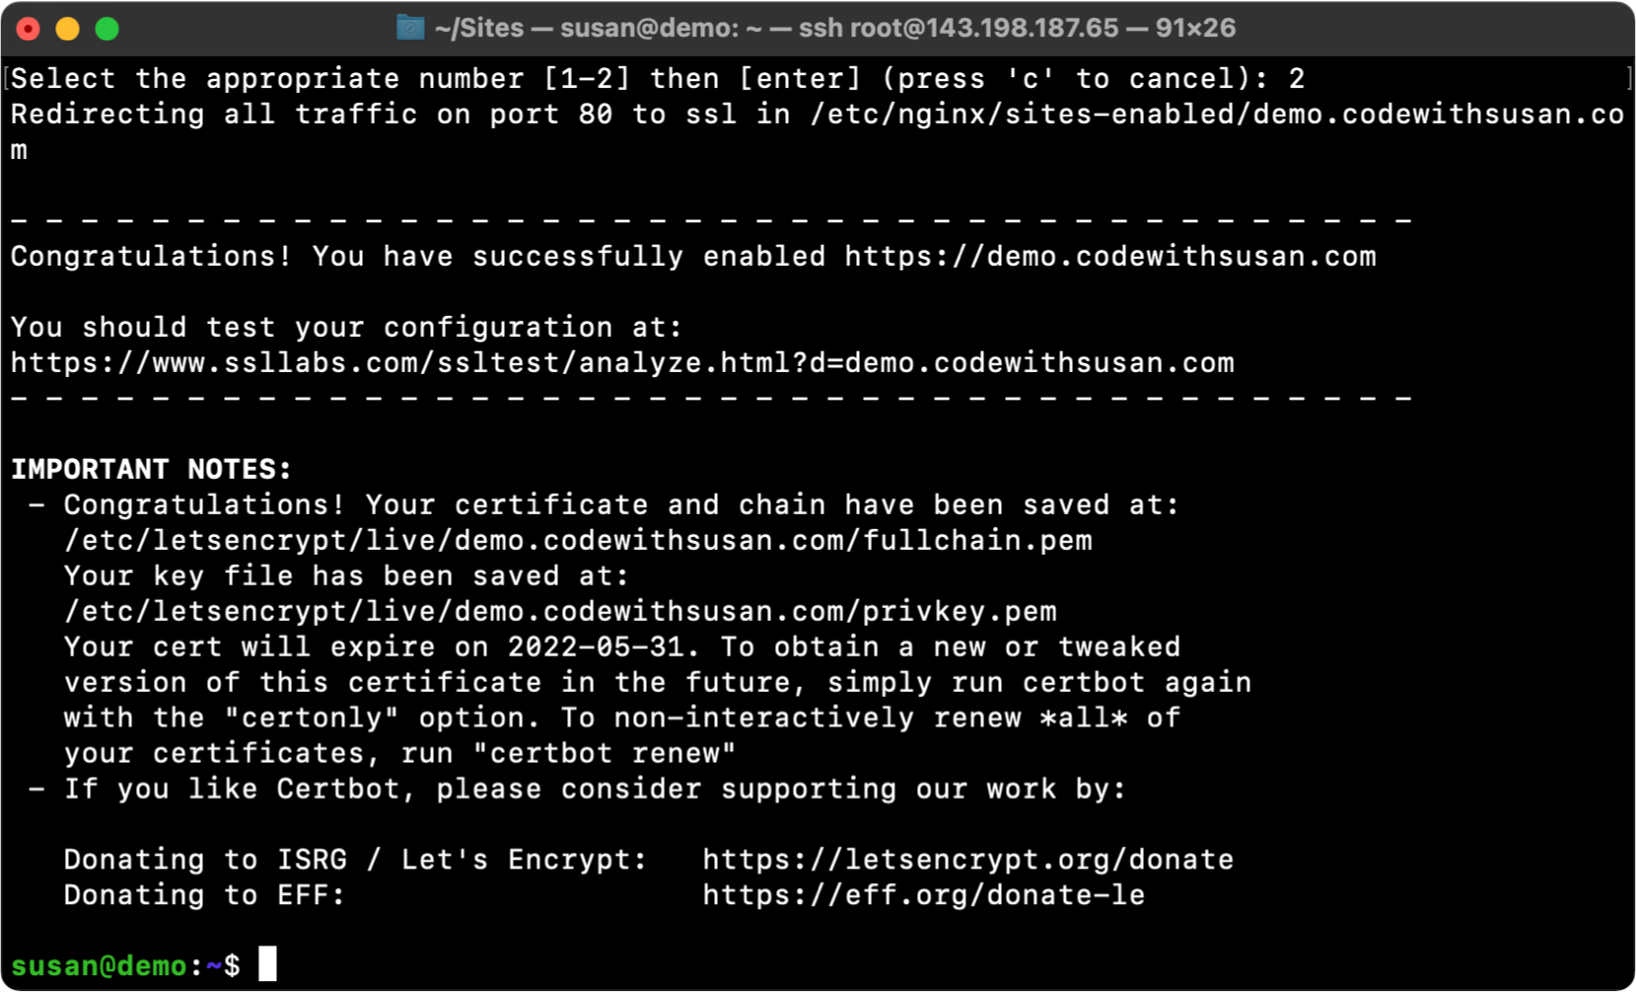
After hitting enter, it will proceed to set up your certificate and then prompt you to choose whether regular http traffic should be left alone or redirected to https; I suggest going with redirect and choosing option 2:

After the above question, you’ll see the final confirmation details:

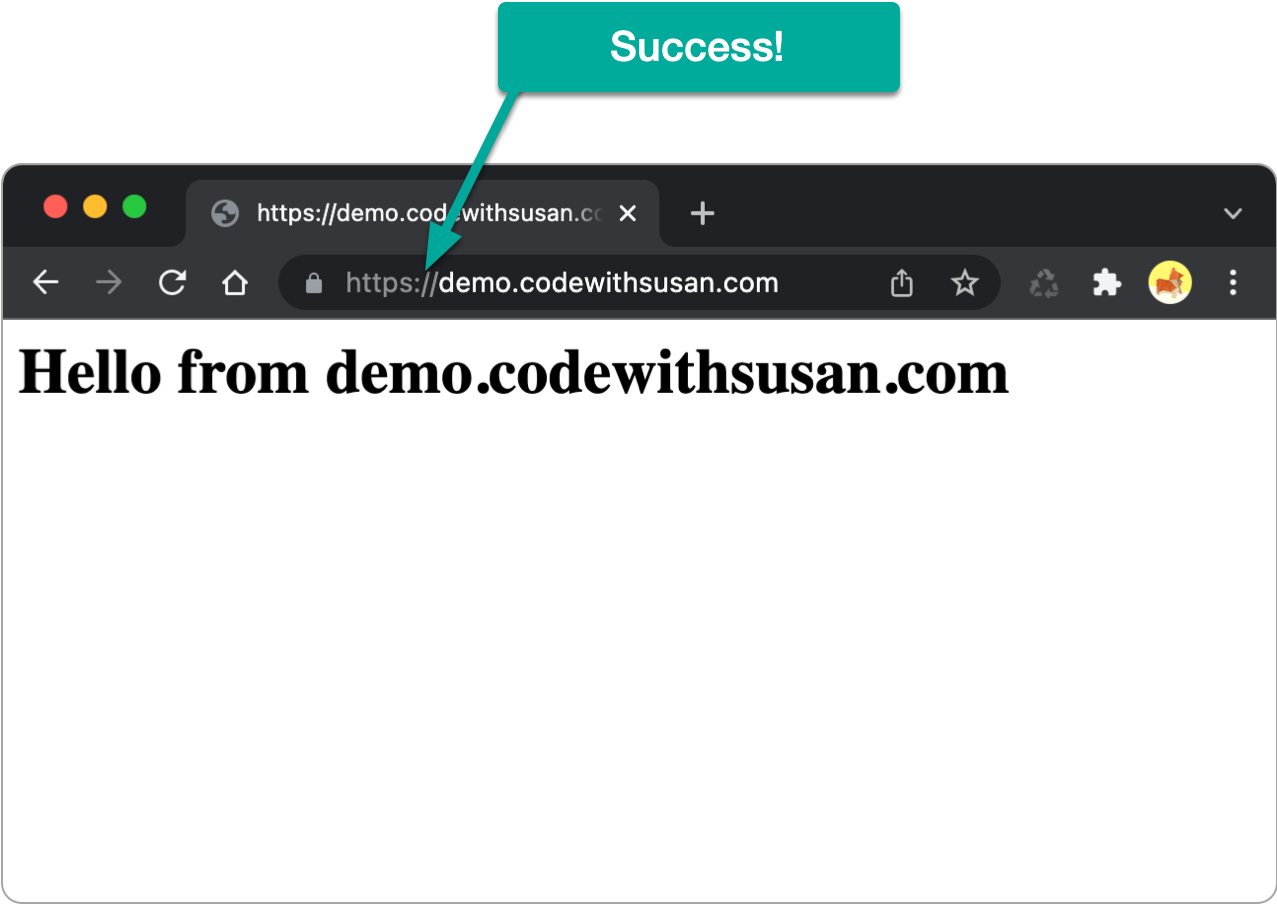
Once the above is complete, you should now be able to access your sites via https.

The above process should have generated the certificate and key files necessary for your HTTPS connection.
It also should have generated a new site configuration file for https traffic to your domain at the path /etc/apache2/sites-available/

Additionally, if you choose to redirect http traffic to https it will update your existing http site config file adding the code necessary to do the redirect:

Let’s Encrypt certificates expire after 90 days. As part of the above setup process, though, configurations were put in place to automatically renew your certificates for you.
This happens via the cron job found at /etc/cron.d/certbot.
Long story short, there’s no action you need to take to maintain a Let’s Encrypt certificate once its been installed.
You can revoke an existing certificate following this command pattern:
> sudo certbot delete --cert-name yourdomain.com
Once that is complete, you should:
/etc/apache2/sites-available/<your-domain>-le-ssl.conf/etc/apache2/sites-available/<your-domain>.conf so http traffic is no longer redirected to httpssystemctl restart apache2No subscriptions, no auto-renewals.
Just a simple one-time payment that helps support my free, to-the-point videos without sponsered ads.
Unlocking gets you access to the notes for this video plus all 200+ guides on this site.
Your support is appreciated. Thank you!