Following up on my video Deploy Laravel on an Ubuntu Nginx server, this guide will cover running multiple Laravel applications on the same Nginx server using unique domains.
To demonstrate, I have two Laravel applications running on a server in these directories:
/var/www/demo1 - We’ll call this application Demo1/var/www/demo2 - We’ll call this application Demo2Following the instructions from the Deploy Laravel on Ubuntu Nginx server guide, I have already completed the following steps:
composer install --optimize-autoloader --no-dev to download all the outside dependencies.env filestorage and bootstrap/cache directoriesAll that is left to do is set up the Nginx site configs and configure the domains.
For each of the sites you’re setting up, you'll create a Nginx site config file in the directory /etc/nginx/sites-available/ using the template config provided below.
In my example, I’ll create:
/etc/nginx/sites-available/demo1.conf/etc/nginx/sites-available/demo2.confWithin this template, you need to update the values server_name and root as appropriate for your project. Also, make sure the line fastcgi_pass references the version of PHP that is running on your server (php8.2-fpm.sock is used in this example).
Site config template:
server {
    listen 80;
    listen [::]:80;
    server_name demoX.com;
    root /var/www/demoX/public;

    add_header X-Frame-Options "SAMEORIGIN";
    add_header X-Content-Type-Options "nosniff";

    index index.php;

    charset utf-8;

    location / {
        try_files $uri $uri/ /index.php?$query_string;
    }

    location = /favicon.ico { access_log off; log_not_found off; }
    location = /robots.txt  { access_log off; log_not_found off; }

    error_page 404 /index.php;

    location ~ \.php$ {
        fastcgi_pass unix:/var/run/php/php8.2-fpm.sock;
        fastcgi_param SCRIPT_FILENAME $realpath_root$fastcgi_script_name;
        include fastcgi_params;
    }

    location ~ /\.(?!well-known).* {
        deny all;
    }
}
To enable the above configs, you need to symbolically link the files created in /etc/nginx/sites-available/ to /etc/nginx/sites-enabled. E.g.:
> ln -s /etc/nginx/sites-available/demo1.conf /etc/nginx/sites-enabled
> ln -s /etc/nginx/sites-available/demo2.conf /etc/nginx/sites-enabled
Run this command to make sure there are no errors with the configs:
> nginx -t
Restart Nginx to make the changes take effect:
> systemctl restart nginx
With the above setup in place, the next step is to configure the domains I want to use for these sites to point to the IP address of the server where they’re running.
For the purposes of the demonstration, I will configure a domain I own of hesweb.xyz to point to the Demo1 application, and I will use a subdomain of demo.codewithsusan.com to point to the Demo2 application.

After saving the above settings and waiting a minute or two for the changes to propagate, I was able to load the individual sites on their respective domains:

No subscriptions, no auto-renewals.
Just a simple one-time payment that helps support my free, to-the-point videos without sponsered ads.
Unlocking gets you access to the notes for this video plus all 200+ guides on this site.
Your support is appreciated. Thank you!
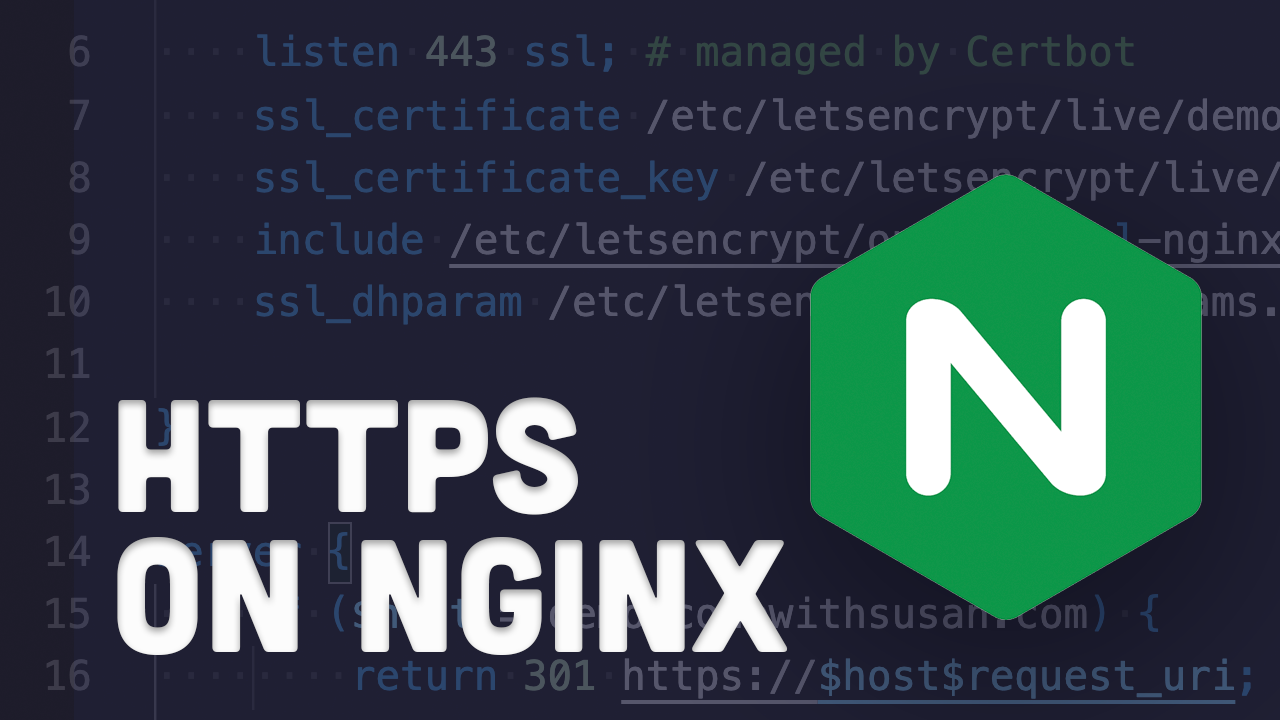 HTTPS / SSL via “Let’s Encrypt” on a Nginx Web Server
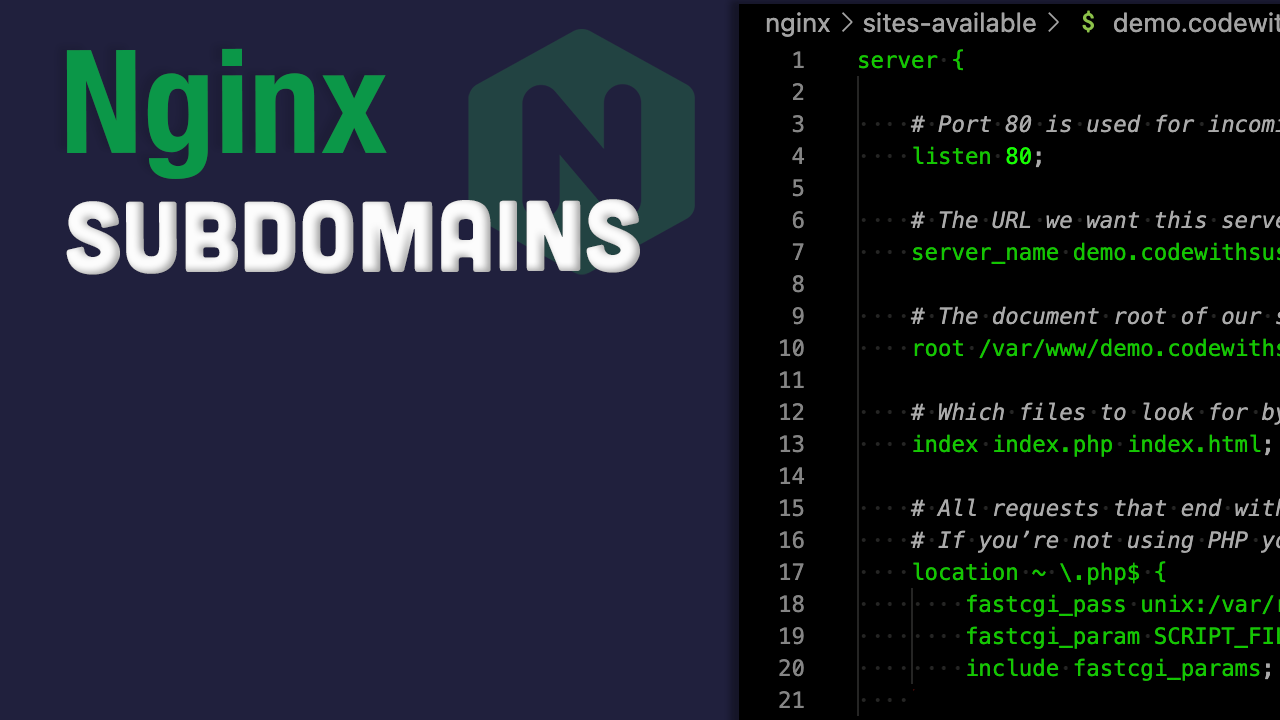 Configuring a subdomain on a Nginx web server
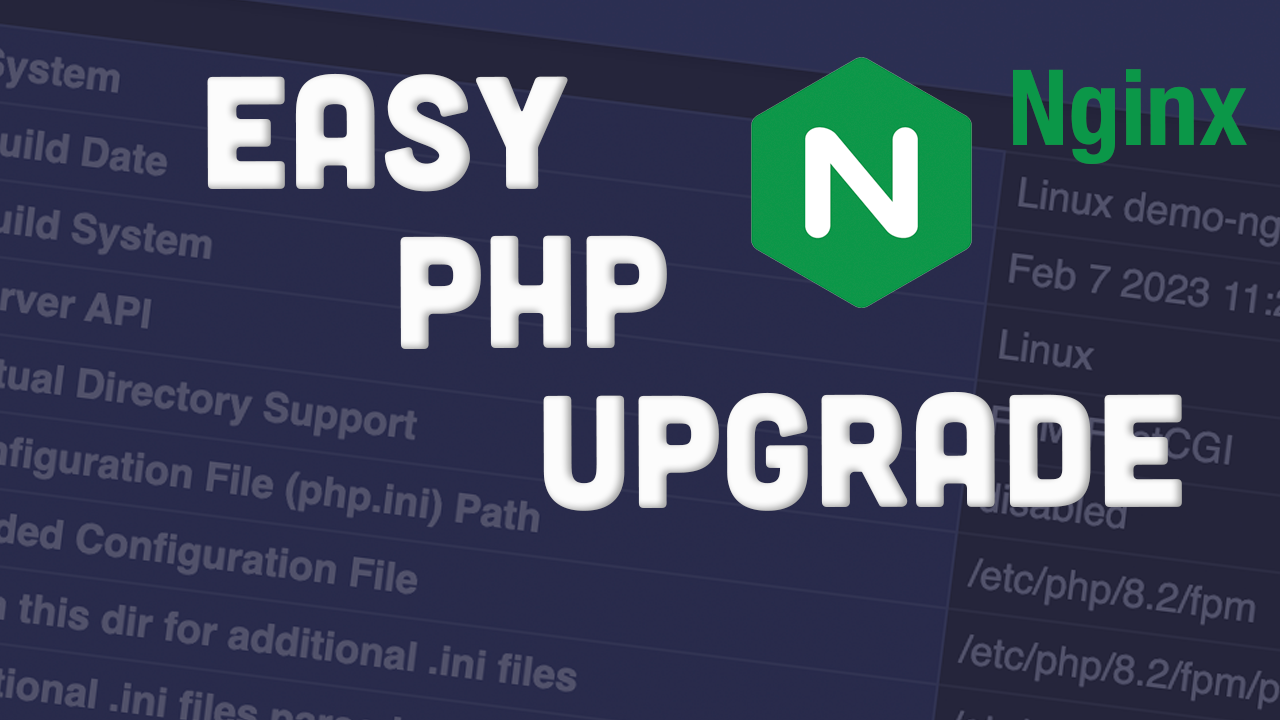 Upgrading to PHP 8.2 (Ubuntu with Nginx)