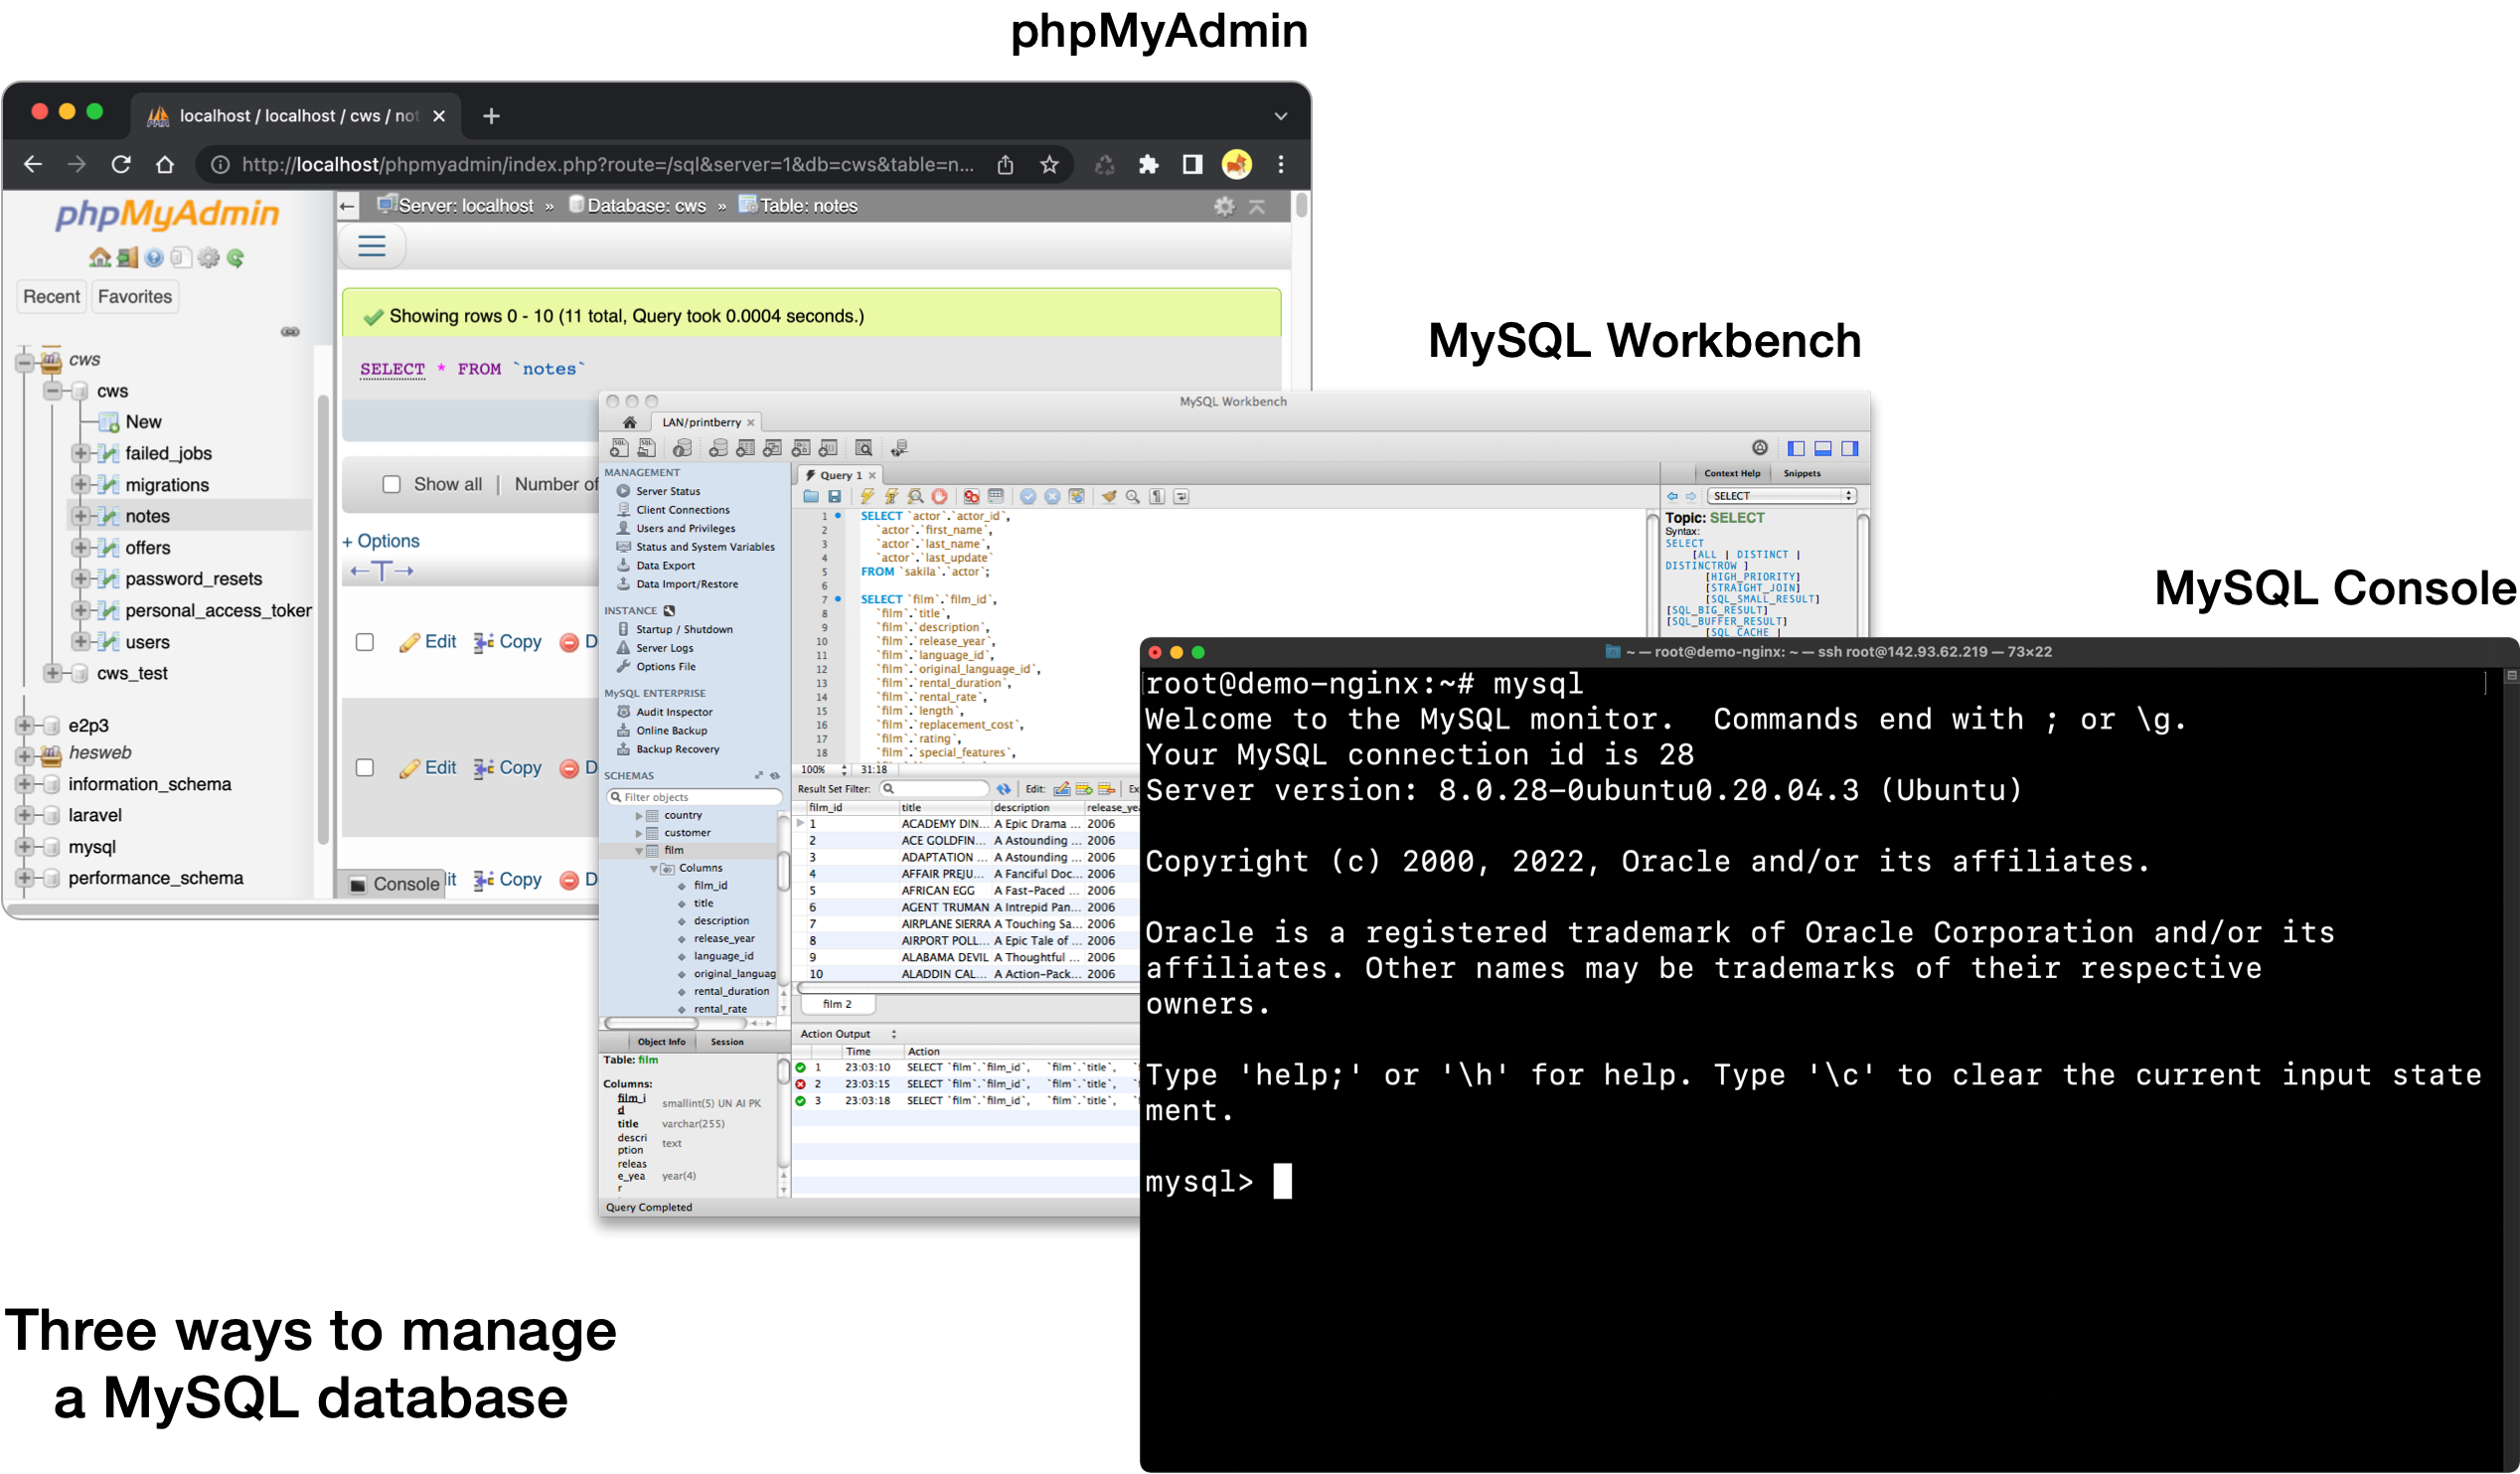
There are several ways to manage a MySQL database. You might use a web based tool such as phpMyAdmin, or a desktop application such as MySQL Workbench. Alternatively, you can go straight to the source and interact with your database via the MySQL command line tool, which is what this guide covers.
Goals:
To get started, you’ll need to have MySQL (or the equivalent MariaDB) already installed and running either on your computer or a remote sever, depending on the context in which you’re working. You’ll also need to know the password for the root MySQL user.
For this example, I have MySQL running on a server and so I’ll start the process by connecting as the root MySQL user with the following command, entering the root password when prompted to do so.
> mysql -u root -p
Once you’re connected, you should see the MySQL prompt which looks like this:
mysql>
Next, run the following SQL command to create a new database, swapping in foobar with whatever database name you want:
mysql> CREATE DATABASE foobar;
Query OK, 1 row affected (0.01 sec)
Note how every statement we’ll run should end with a ; to terminate the command. Without it, when you hit Enter, the command will not actually run.
You can confirm your database was created by running SHOW DATABASES:
mysql> SHOW DATABASES;
+--------------------+
| Database           |
+--------------------+
| foobar             |
| information_schema |
| mysql              |
| performance_schema |
| sys                |
+--------------------+
5 rows in set (0.01 sec)
Next, we’ll create a new MySQL user that will be connected to this database. Do that with the following command swapping in foobarAdmin and your-password-here with whatever username/password you want.
mysql> CREATE USER 'foobarAdmin'@'localhost' IDENTIFIED BY 'your-password-here';
Query OK, 0 rows affected (0.01 sec)
It’s a good idea to create separate users for each database you create, so that if one user is compromised, not all your databases will be compromised.
Next, we need to grant the foobarAdmin user privileges to manage the foobar database. The following command will grant all privileges to all tables (*) within the foobar database:
mysql> GRANT ALL PRIVILEGES ON foobar . * TO 'foobarAdmin'@'localhost';
You can read more about MySQL privileges here.
To test things out, let’s exit MySQL command line mode which is currently connected as the root user:
mysql> exit;
...and reconnect as our new user:
> mysql -u foobarAdmin -p
When it prompts for your password, use the one you created above.
Once connected, select the foobar database:
mysql> USE foobar;
Database changed
And just for a test, let’s create a demo table called users with two fields, id and email:
mysql> CREATE TABLE `users` (
    `id` INT NOT NULL AUTO_INCREMENT,
    `email` VARCHAR(255),
    PRIMARY KEY (`id`)
);
Query OK, 0 rows affected (0.01 sec)
We can view the structure of our new table:
mysql> DESCRIBE users;
+-------+--------------+------+-----+---------+----------------+
| Field | Type         | Null | Key | Default | Extra          |
+-------+--------------+------+-----+---------+----------------+
| id    | int          | NO   | PRI | NULL    | auto_increment |
| email | varchar(255) | YES  |     | NULL    |                |
+-------+--------------+------+-----+---------+----------------+
2 rows in set (0.00 sec)
And add a couple rows:
mysql> INSERT INTO users (`email`) VALUES ('mail@codewithsusan.com'), ('test@user.com');
Query OK, 2 rows affected (0.01 sec)
Records: 2  Duplicates: 0  Warnings: 0
And view the new rows:
mysql> SELECT * FROM users;
+----+------------------------+
| id | email                  |
+----+------------------------+
|  1 | mail@codewithsusan.com |
|  2 | test@user.com          |
+----+------------------------+
2 rows in set (0.00 sec)
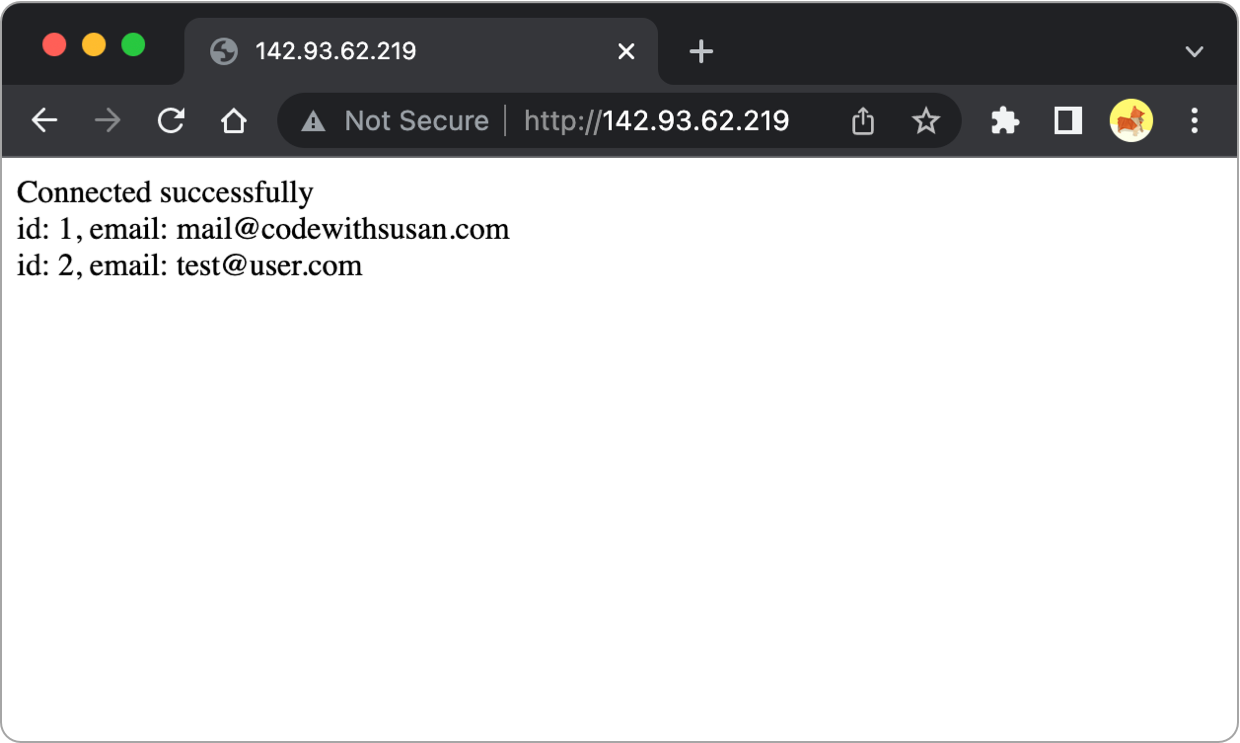
Finally, below is some barebones PHP code to test your database connection from a web application.
<?php
# Credentials
$database = 'foobar';
$username = 'foobarAdmin';
$password = 'your-password-here';

# Establish connection
try {
    $conn = new PDO('mysql:host=localhost;dbname='.$database, $username, $password);
    $conn->setAttribute(PDO::ATTR_ERRMODE, PDO::ERRMODE_EXCEPTION);
    echo 'Connected successfully<br>';
} catch(PDOException $e) {
    echo 'Connection failed: ' . $e->getMessage();
}

# Test retrieving data
$sql = 'SELECT * FROM users';
$statement = $conn->query($sql);
$data = $statement->fetchAll();
foreach($data as $row) {
    echo 'id: ' . $row['id'] . ', email: ' . $row['email'].'<br>';;
}
If everything is set up correctly, the above code should produce output that looks like this:
If you want, you can delete your demo table using the DROP TABLE command:
mysql> DROP TABLE users;
No subscriptions, no auto-renewals.
Just a simple one-time payment that helps support my free, to-the-point videos without sponsered ads.
Unlocking gets you access to the notes for this video plus all 200+ guides on this site.
Your support is appreciated. Thank you!
 MySQL with Laravel Herd on Windows
 Deploying Laravel - MySQL / MariaDB database setup (Ubuntu)
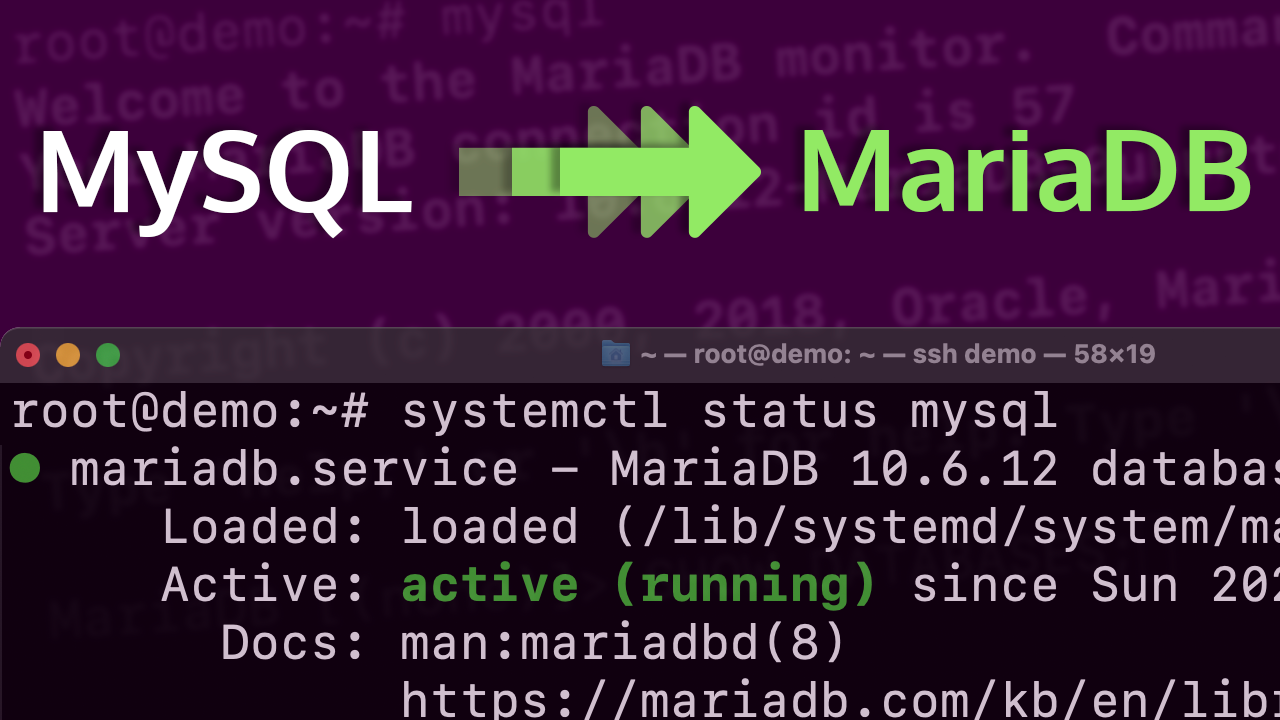 Migrate from MySQL to MariaDB (Ubuntu)