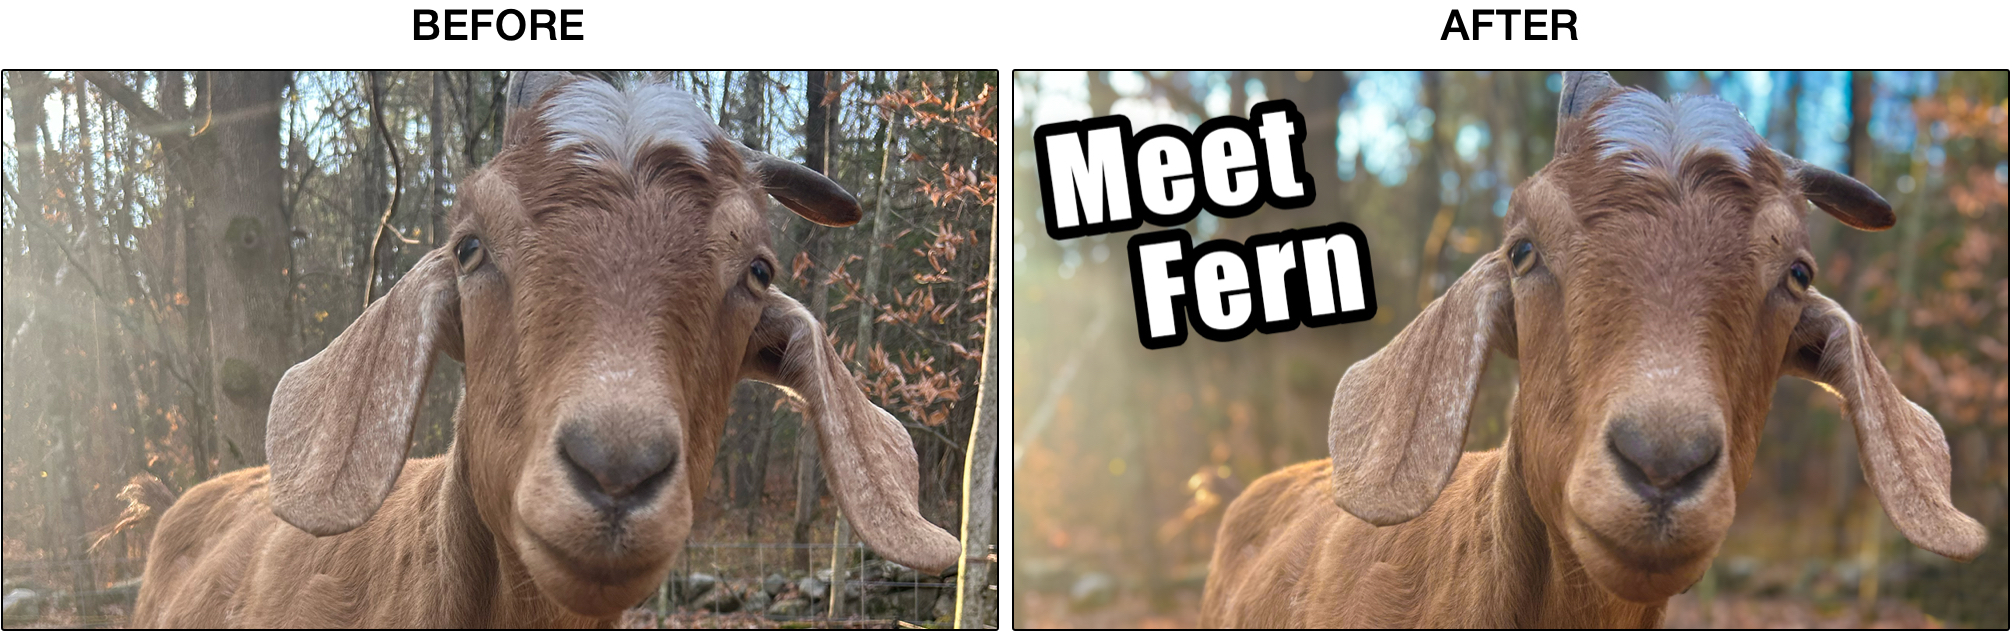
A strong thumbnail for YouTube often has a bold photo with a clear caption overlayed. This guide covers the essential Photoshop techniques to quickly accomplish this goal.
Create a new document at 1280 × 720 pixels, the standard size for YouTube thumbnails.
Boost Color
Add Background Blur for Focus
No subscriptions, no auto-renewals.
Just a simple one-time payment that helps support my free, to-the-point videos without sponsered ads.
Unlocking gets you access to the notes for this video plus all 200+ guides on this site.
Your support is appreciated. Thank you!
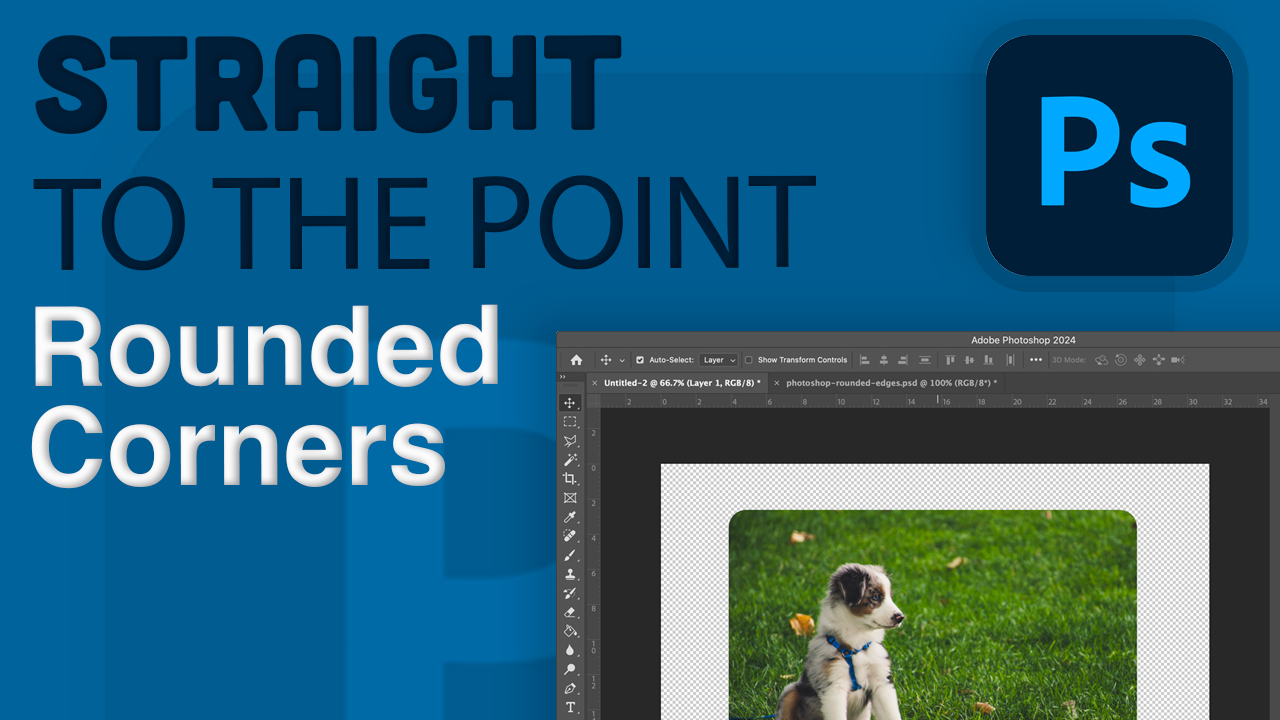 Rounded corners in Photoshop
 Photoshop Oil Painting Effect