In this guide we’ll learn how to connect to a server using SSH key authentication. SSH keys provide a more secure and convenient way of logging into a server versus using a password. While a password can eventually be cracked with a brute force attack, SSH keys are nearly impossible to decipher by brute force alone.
In a nutshell, the way SSH keys work is you generate a key pair that consists of a private key and a public key. Each key contains a long line of encrypted text.
The private key will exist on the computer you’re connecting from and the public key will go on the server you’re connecting to.
When you attempt a connection, the two keys are checked against one another and if they match up, the connection is authenticated.

With the big idea behind us, let’s jump in - Step 1 is generating a new SSH key pair on your computer...
Via command line, move into the .ssh directory in your computer’s home directory:
> cd ~/.ssh
If this directory does not exist, first create it (mkdir), then move into it:
> mkdir ~/.ssh
> cd ~/.ssh
Next, within the .ssh directory, run the following command to generate a new SSH key pair, replacing Susans-MacBook with some identifier for your computer.
> ssh-keygen -t rsa -C "Susans-MacBook"
When it asks you to “Enter file in which to save the key”, it’s asking you to name the key. If you leave it blank and hit enter, it will use the default name of id_rsa. In this example, I’ll opt to use a custom name, susans-macbook.
Enter file in which to save the key (/Users/YourName/.ssh/id_rsa): [Press enter]
When it asks you to create a passphrase, leave it blank and hit enter.
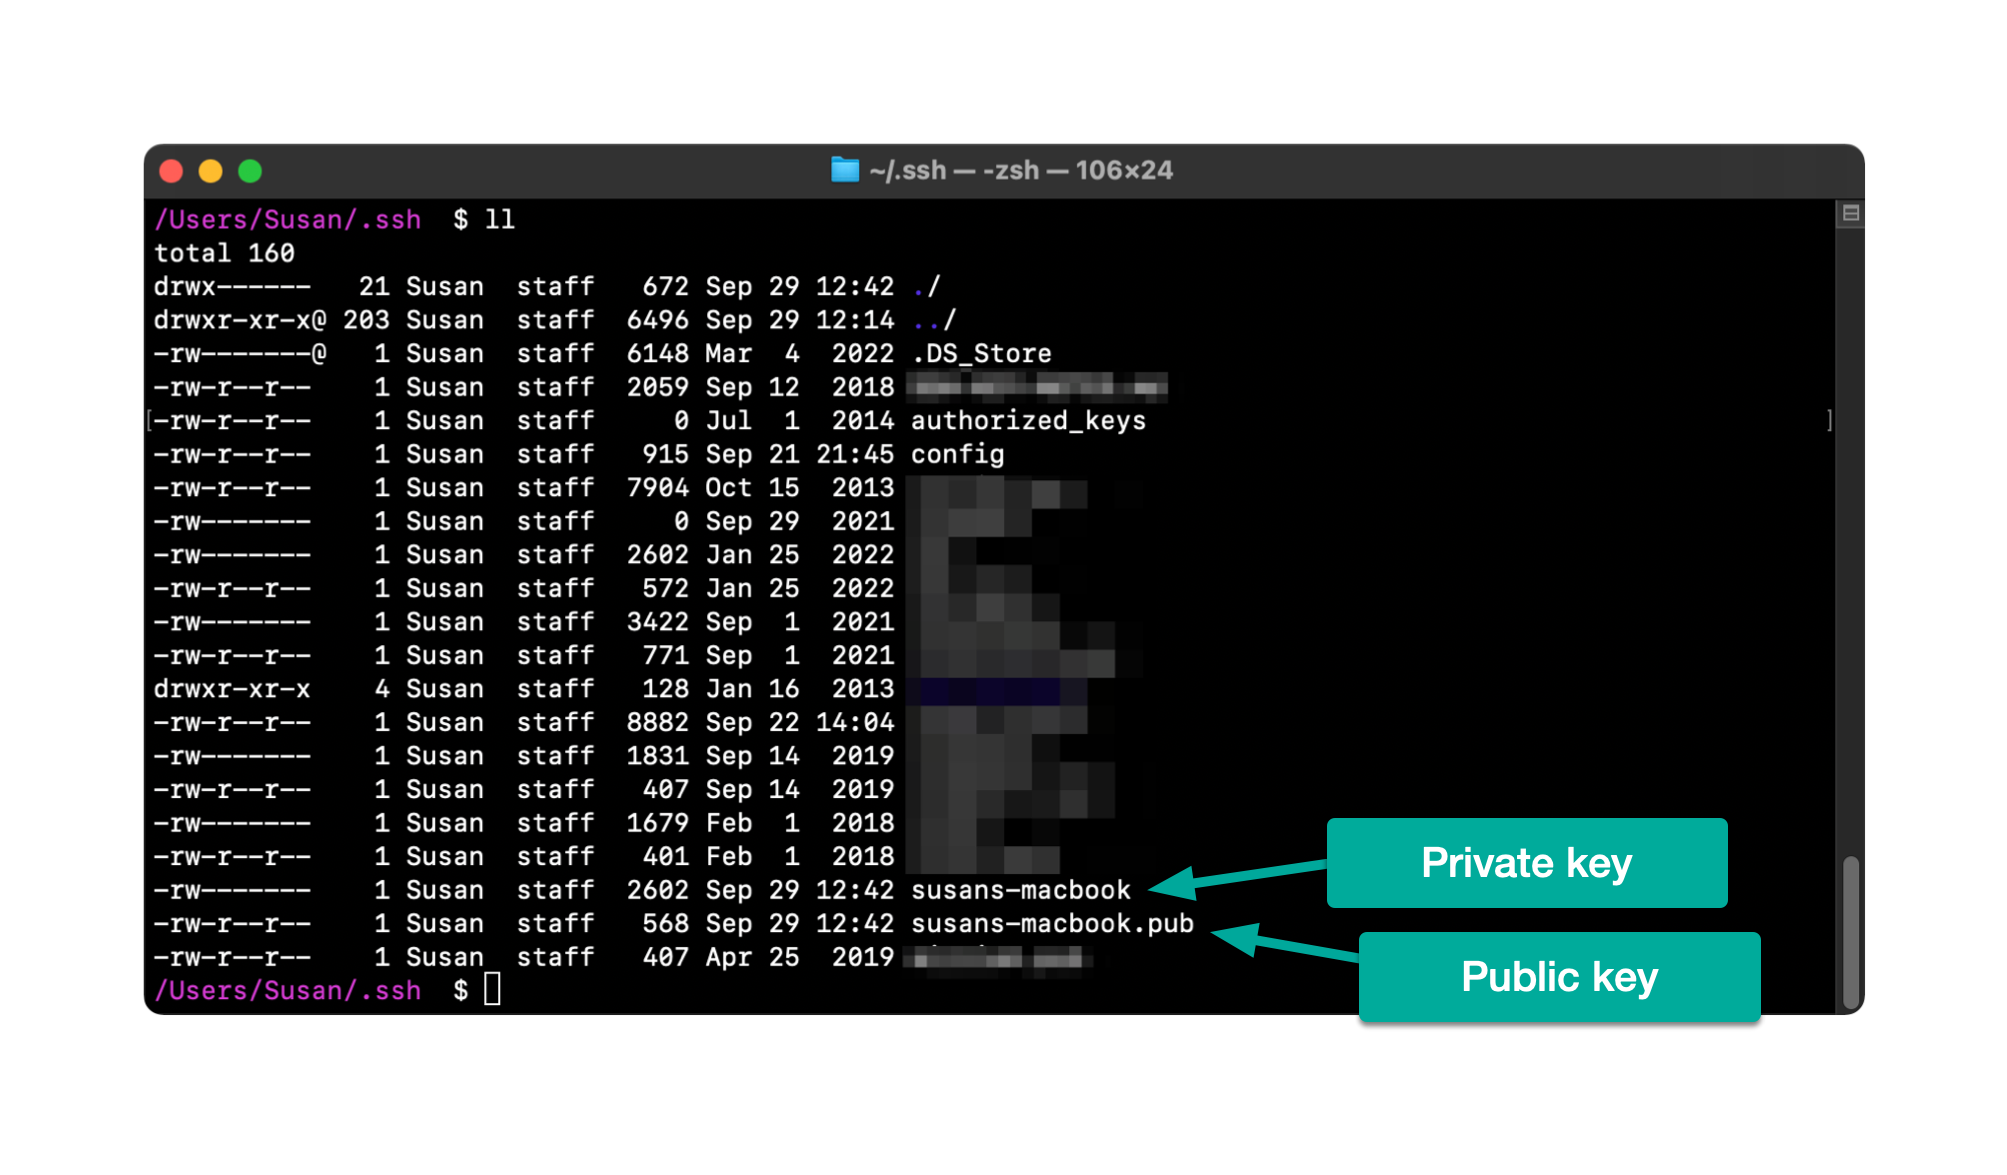
When the above command is complete, list the contents of your .ssh directory and you should see two new key files, which in my example are susans-macbook (the private key, no extension) and susans-macbook.pub (the public key, .pub extension).
Example:
If you used a custom key name (instead of the default id_rsa), you will need to add this key name to your SSH config file so it will be used when you attempt to make an SSH connection. If you used the default name of id_rsa you can skip this step.
To do this, edit (or create if it doesn’t exist) a file called config in your .ssh directory, adding this line to the end of the file (replace susans-macbook with your key name)
IdentityFile ~/.ssh/susans-macbook
Next, we need to install the public half of your SSH key pair on the server you are trying to connect to.
When creating a new server, many server providers will offer an option to install a SSH key on the server for you. In the video I demonstrate this using the server provider DigitalOcean, and below is a screenshot showing that option on their Create a new server page:

Alternatively, let’s imagine this isn’t an option your server provider offers - or maybe you’re working with a server that has already been created. In that case, you need to be able to log into your server in order to install the key. There are a few different ways you might accomplish this:
Once you’re logged in, you want to edit the file ~/.ssh/authorized_keys, pasting in the contents of the public key you created in the above steps.
To test your SSH keys and connection, attempt to log into your server from the computer in which you set up the keys:
> ssh username@your.servers.ip.address
If all went well, you should be connected to your server. If it fails, check out my troubleshooting guide: SSH Keys Permission denied (publickey).
No subscriptions, no auto-renewals.
Just a simple one-time payment that helps support my free, to-the-point videos without sponsered ads.
Unlocking gets you access to the notes for this video plus all 200+ guides on this site.
Your support is appreciated. Thank you!
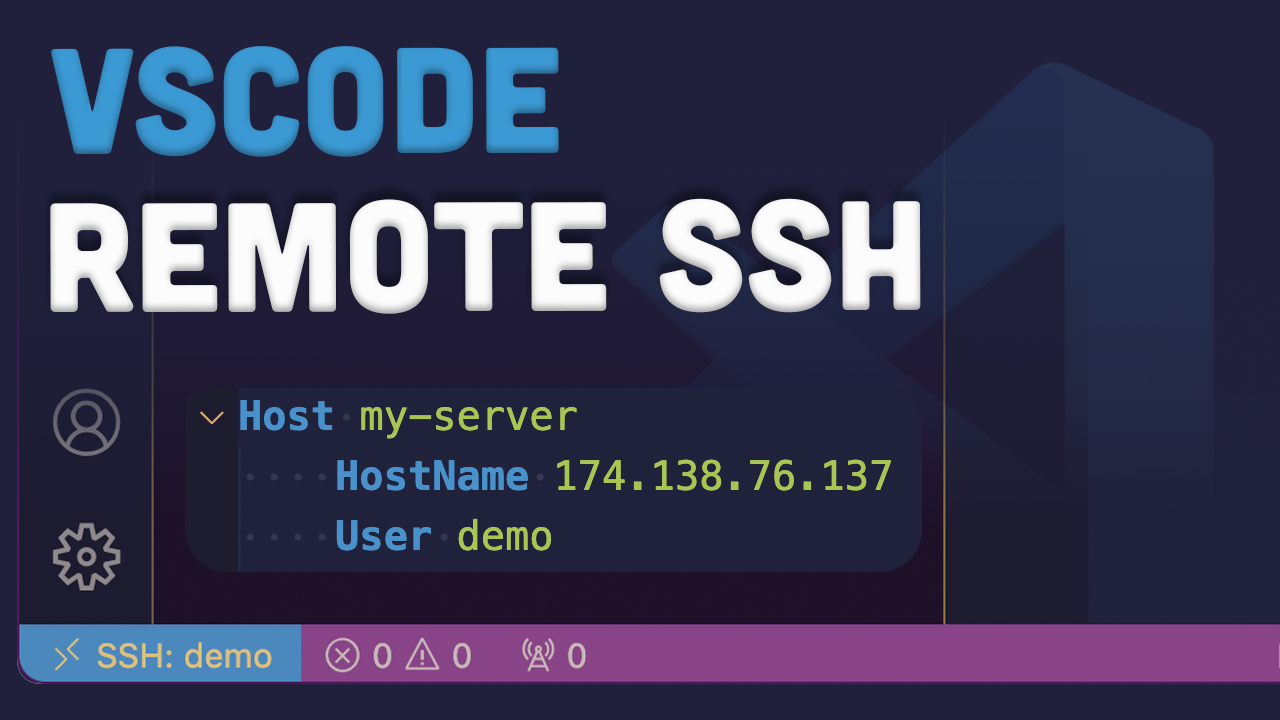 SSH Remote development with VSCode
 VSCode Remote SSH Keeps disconnecting FIXED
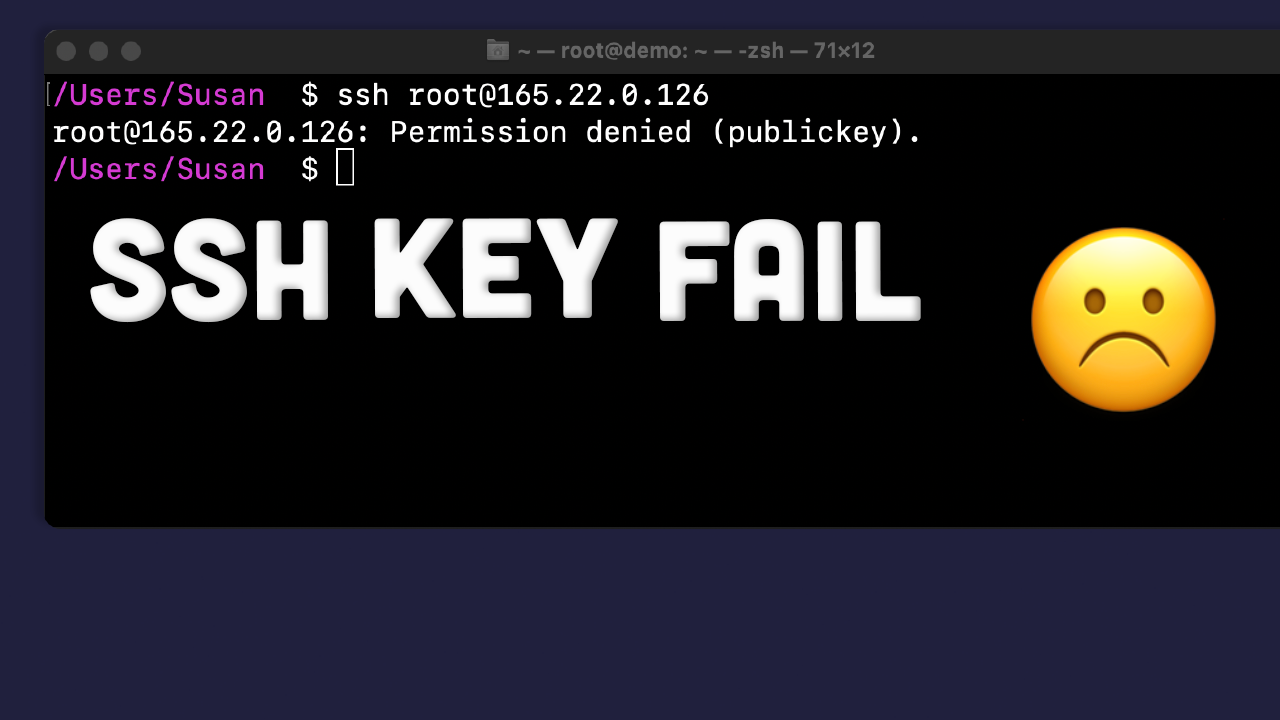 Fix for SSH Permission Denied (Public Key)