In Part 1 of this series, we learned what Vue.js is and why you’d want to use it. Now let’s start with a simple example that will allow us to sample some of Vue’s key features. Later in this series, we‘ll dig deeper into each feature so consider this a broad introduction to start.
To get started, follow these steps to set up our example:
<!doctype html>
<html lang='en'>

<head>
    <title>FlashWord</title>
    <meta charset='utf-8'>

    <script src='https://unpkg.com/vue@next' defer></script>
    <script src='app.js' defer></script>

    <style>
        label {
            display: block;
        }

        input,
        button {
            display: block;
            margin: 10px 0px;
        }

        .correct {
            color: green;
        }

        .incorrect {
            color: red;
        }
    </style>
</head>

<body>
    <h1>FlashWord</h1>

    <div id='app'>
        What is the English translation of the word <strong>{{ wordA }}</strong>?
    </div>
</body>

</html>
Open index.html in your browser and you should see the following:
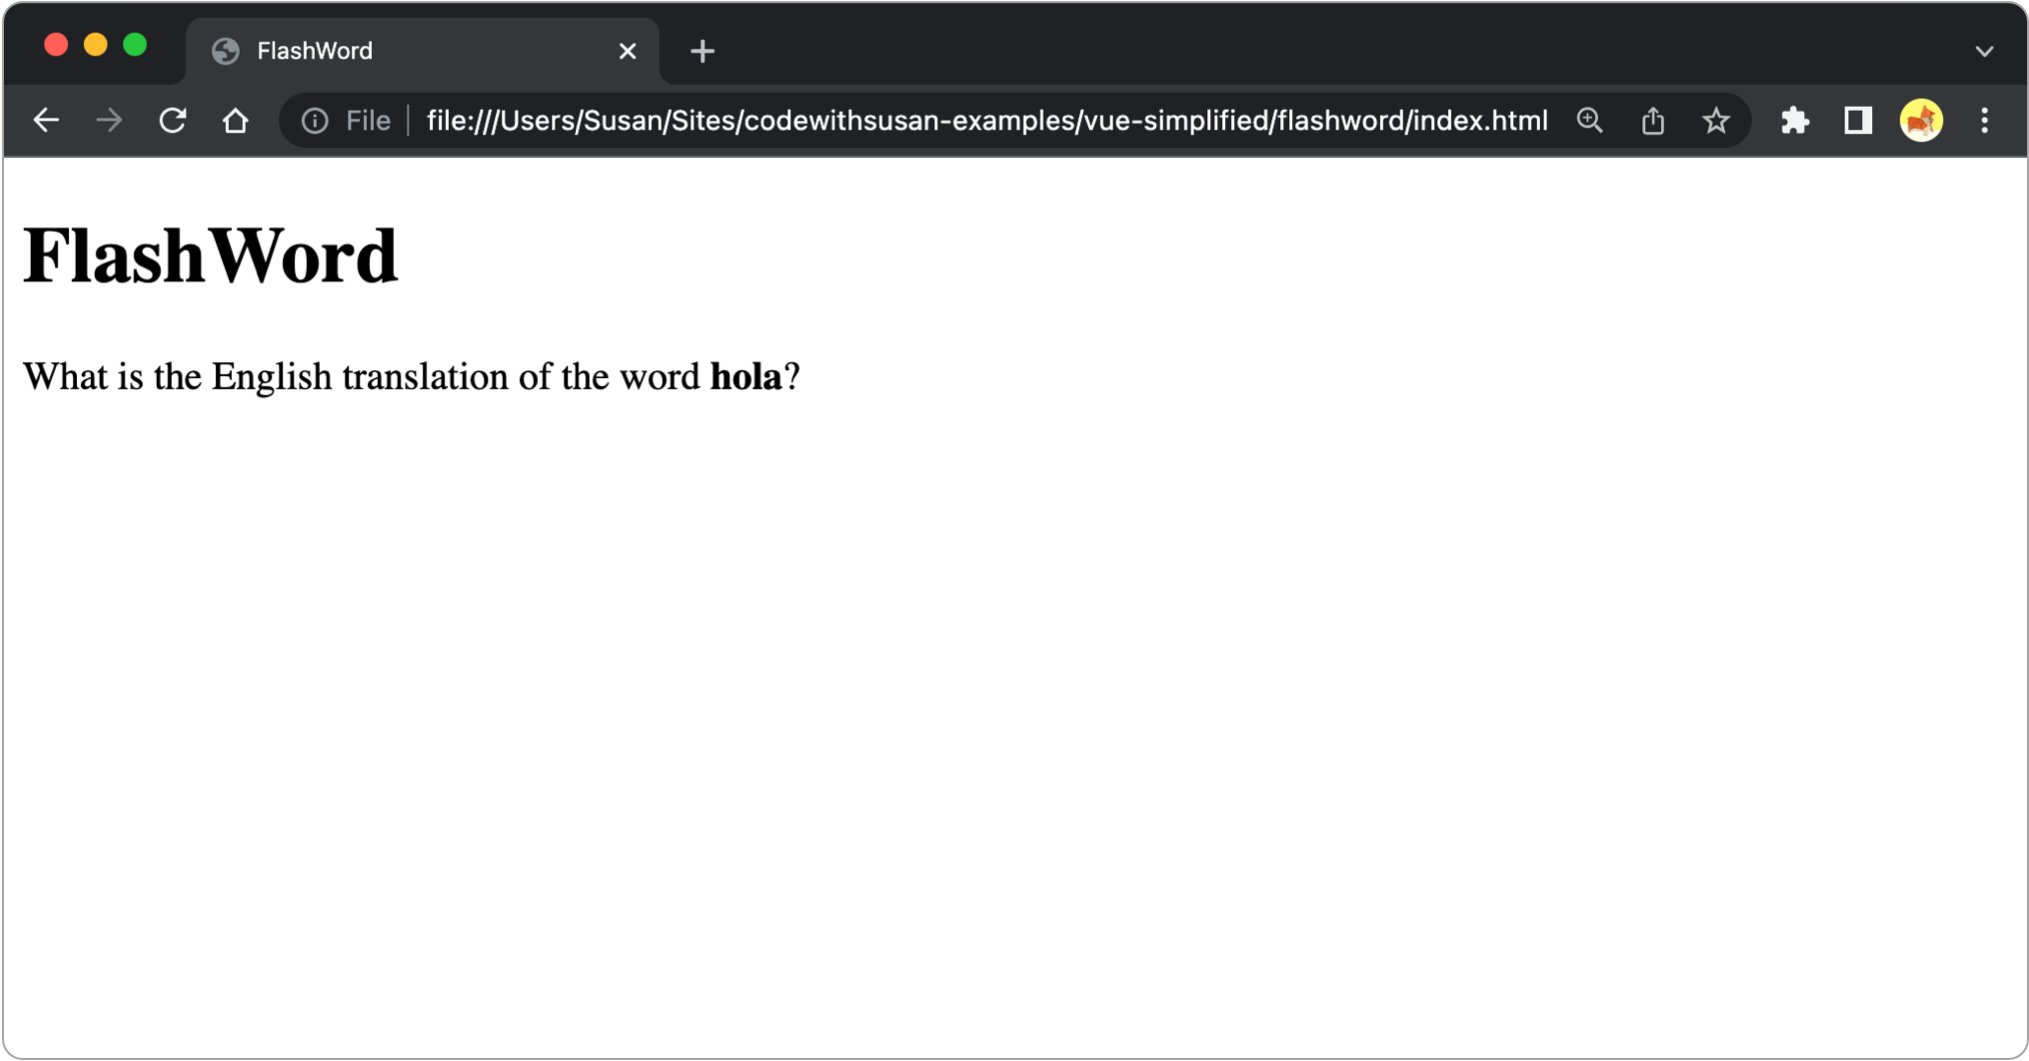
Observations:
In app.js add the following code:
// Define the options of our application
const FlashWord = {
    data() {
        return {
            wordA: 'hola',
            wordB: 'hello',
            answer: '',
            correct: null,
            showFeedback: false,
        }
    }
}

// Create a new Vue instance using our options
const app = Vue.createApp(FlashWord).mount('#app');
Observations:
Data can be bound to the page via text interpolation using double curly bracket aka “mustache syntax”:
<div id='app'>
    What is the English translation of the word <strong>{{ wordA }}</strong>?
</div>
Data in our Vue app is all reactive — if it changes in one place, that change will propagate wherever else that data is being used.
To demonstrate this, we can update wordA via the web inspector console and see the change reflected where it’s printed on the page:
app.$data.wordA = 'adios'
All user-defined data is aliased, so you can also use the shorthand app.word when accessing it via the web inspector console.
Next, we want to set up a text input where the visitor can type in their answer. We’ll want this text input to be bound to our data option answer, and we’ll accomplish this using the Vue directive, v-model.
Add an HTML text input with the attribute v-model='answer', as well as a paragraph to output the answer:
<div id='app'>
    <label for='answer'>What is the English translation of <strong>{{ wordA }}</strong>?</label>

    <input type='text' id='answer' v-model='answer'>

    <p>
        Your answer: {{ answer }}
    </p>
</div>
v-model is our first example of a Vue directive.
Vue directives...
v-The v-model directive...
To observe the reactive binding, observe how when you change the value in the text input, the answer on the page is reactively updated.
Another useful directive is v-if which allows you to conditionally toggle the presence of an element on the page.
The v-if directive accepts a boolean expression; if that expression returns true, the corresponding element will be visible.
As an example, let’s make it so that the answer output only displays once the visitor has started to type an answer.
<p v-if='answer != ""'>
    Your answer: {{ answer }}
</p>
Other conditional-related directives include v-else, v-else-if, and v-show, which we’ll dig into more detail later in this series.
Some directives can take arguments which are added following a colon after the directive name. Here’s an example with the v-on directive, which is accepting the argument click:
<button v-on:click='doSomething'>Click me</button>
Other arguments for v-on include any native browser event as: click, change, mouseover, mouseout, keydown, etc.
To put an event listener to use, let’s add a Check Answer button after the answer input. This button will a) update the correct data property and b) toggle the showFeedback data property to true, which we’ll then use to render some feedback on the page.
<button v-on:click="correct = (answer == wordB); showFeedback = true">Check Answer</button>
Here’s some feedback output we can use:
<div v-if='showFeedback'>
    <p v-if='correct'>
        You got it!</p>
    <p v-else>
        Sorry, that is incorrect - try again.
    </p>
</div>
In the above example, our click listener executed the JavaScript expression correct = (answer == wordB); showFeedback = true. This works for simple one or two line expressions, but anything more complex than that would be better outsourced to methods, which is another option we can add to our Vue instance. To demonstrate, let’s create a checkAnswer method:
const FlashWord = {
    data() {
        return {
            wordA: 'hola',
            wordB: 'hello',
            answer: '',
            correct: null,
            showFeedback: false,
        }
    },
    methods: {
        checkAnswer() {
            // Note how data properties are accessed via `this`
            this.correct = this.answer == this.wordB;
            this.showFeedback = true;
        }
    }
}
We’ll trigger this method from our button:
<button v-on:click="checkAnswer()">Check Answer</button>
You may observe that when your page is first rendered, in the split second before your JavaScript and Vue.js is loaded, all content in your HTML is displayed exactly as written:
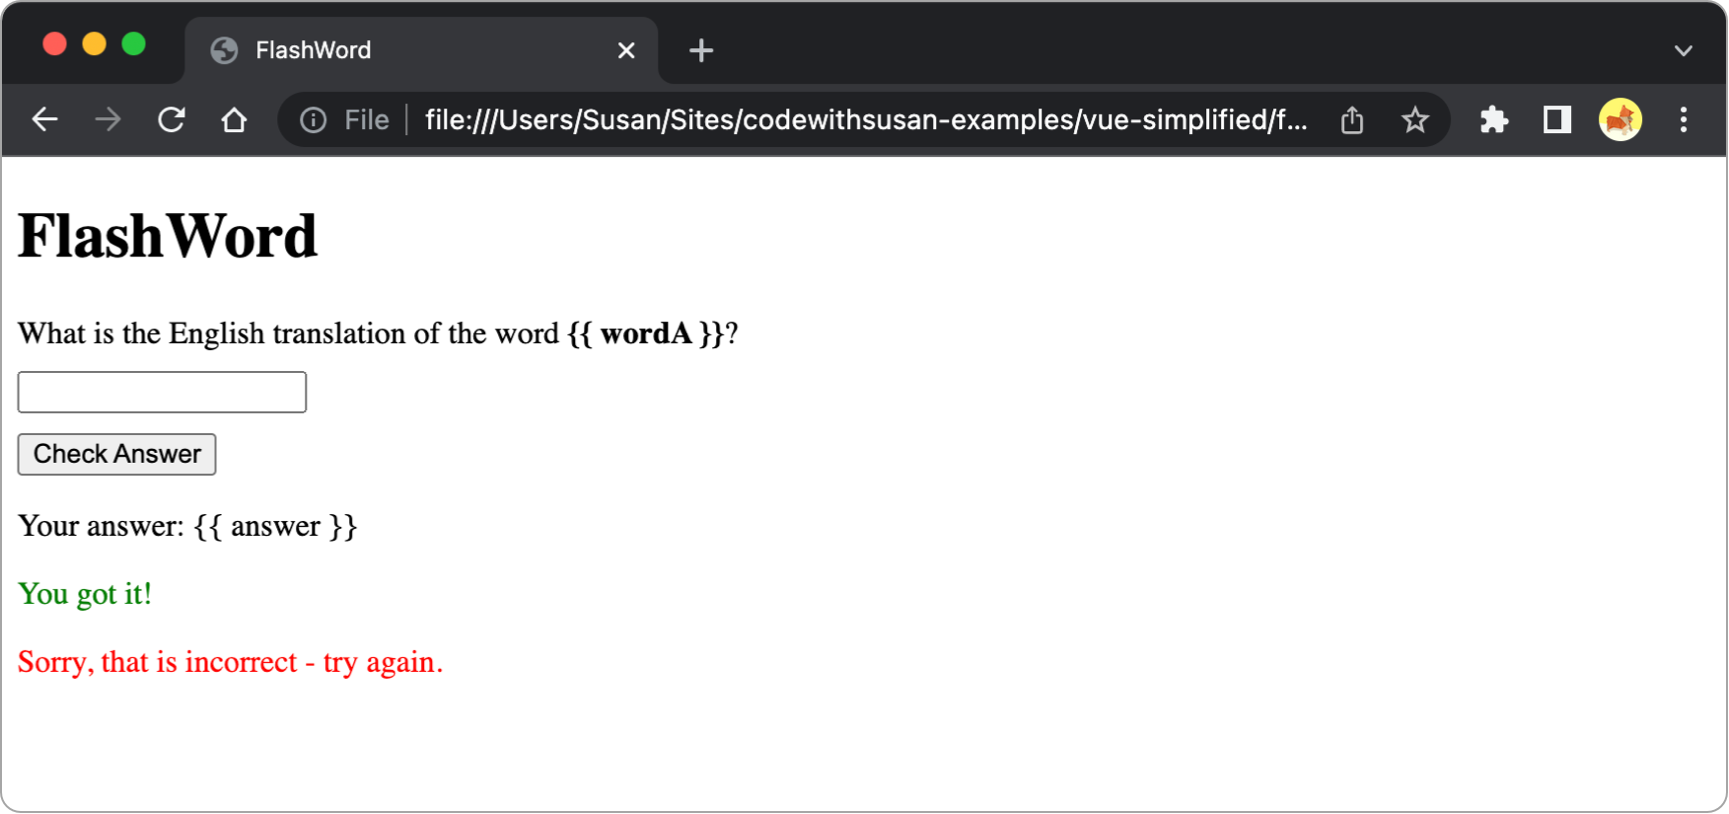
Once the JavaScript is loaded and the Vue instance is created and bound to the DOM, the content of the page is rendered as expected.
That momentary “blip” of un-rendered content looks odd to the user. To avoid it, Vue uses a “cloaking” technique to hide the app before it’s ready.
To do this, add the v-cloak directive to your app:
<div id='app' v-cloak>
    [...]
</div>
Then, style this directive in your CSS so it’s invisible:
[v-cloak] {
    display: none
}
Once the Vue instance is compiled, the v-cloak directive will be removed, so the app will become visible.
{{ }}.Add a reset button that appears once the user has guessed the correct answer. This button should reset the answer to a blank string and hide the feedback on the page.
No subscriptions, no auto-renewals.
Just a simple one-time payment that helps support my free, to-the-point videos without sponsered ads.
Unlocking gets you access to the notes for this video plus all 200+ guides on this site.
Your support is appreciated. Thank you!