Laravel Herd is a fast PHP development environment that includes many of the features you need to start Laravel development, including PHP, Composer, and Nginx.
One commonly used feature that is not included in the free version of Herd is support for a MySQL database, so in this guide I’ll show you how to manually set up MySQL on your computer to use with Herd.
This guide is specific to Windows users. If you’re on a Mac, check out this guide: (Mac) New Laravel application with Herd and DBngin
To get started visit https://dev.mysql.com/downloads/installer/ to download a MySQL installer. The MySQL installer will give you the options install a MySQL server as well as some MySQL-related add-ons.
Of the two installer options, choose the smaller one (~2mb) called MySQL-installer-web-community. This smaller installer will download the programs we choose as part of the install process; the larger installer includes all the programs by default and is only useful if you need to complete the install without an internet connection.

When the download is complete, run the installer. For my setup, I will choose the Server only install, but you can check out Custom if you want to install any MySQL add-ons.
You can then click Next to proceed through the several install steps, leaving everything as the defaults provided. The only step you need to provide input for is when it prompts for a MySQL Root Password. Enter a password of your choosing.

When the installation is complete, the MySQL server should be installed and automatically running.
To manage the MySQL server, you can load Window’s Services app by searching for Services from the start bar.
Of the services listed, you should see MySQL and once selected you can choose to Stop, Pause, or Restart the service.

With MySQL running, now let’s get a Laravel application to communicate with it.
Using Herd, I will generate a new Laravel application then open that application’s .env file to set the following database configs:
DB_CONNECTION=MySQL
DB_HOST=127.0.0.1
DB_PORT=3306
DB_DATABASE=demo
DB_USERNAME=root
DB_PASSWORD=enter-your-password-here
In these configs, update:
DB_PASSWORD to whatever MySQL root password you set during the installation process.DB_DATABASE to the name of a database you want to use for this app.With the above configs in place, we can test our connection by running our application’s database migrations.
To do this, I’ll use PowerShell to navigate to my application directory (cd ~/Herd/Demo) and run my migrations via the command php artisan migrate.
Aritsan should offer the option to create your database for you and then run your default migrations.
If all goes well, you should see successful output from your migrations.
Example of the above process:

When working with databases, it can be useful to have a GUI application that lets you view your database tables and data.
The free application I recommend for this on Windows is HeidiSQL which you can download from here: https://www.heidisql.com/download.php.
Run the installer and proceed through each step until complete.

Once HeidiSQL is installed and running, you can leave all the connection settings as the defaults and enter your MySQL root password. Click Open to initiate the connection.

Once connected, you should see a list of databases on the left (including the one you created in the above steps) and you can click on any of the databases to explore your tables.

No subscriptions, no auto-renewals.
Just a simple one-time payment that helps support my free, to-the-point videos without sponsered ads.
Unlocking gets you access to the notes for this video plus all 200+ guides on this site.
Your support is appreciated. Thank you!
 MySQL Command Line - Database and User Creation
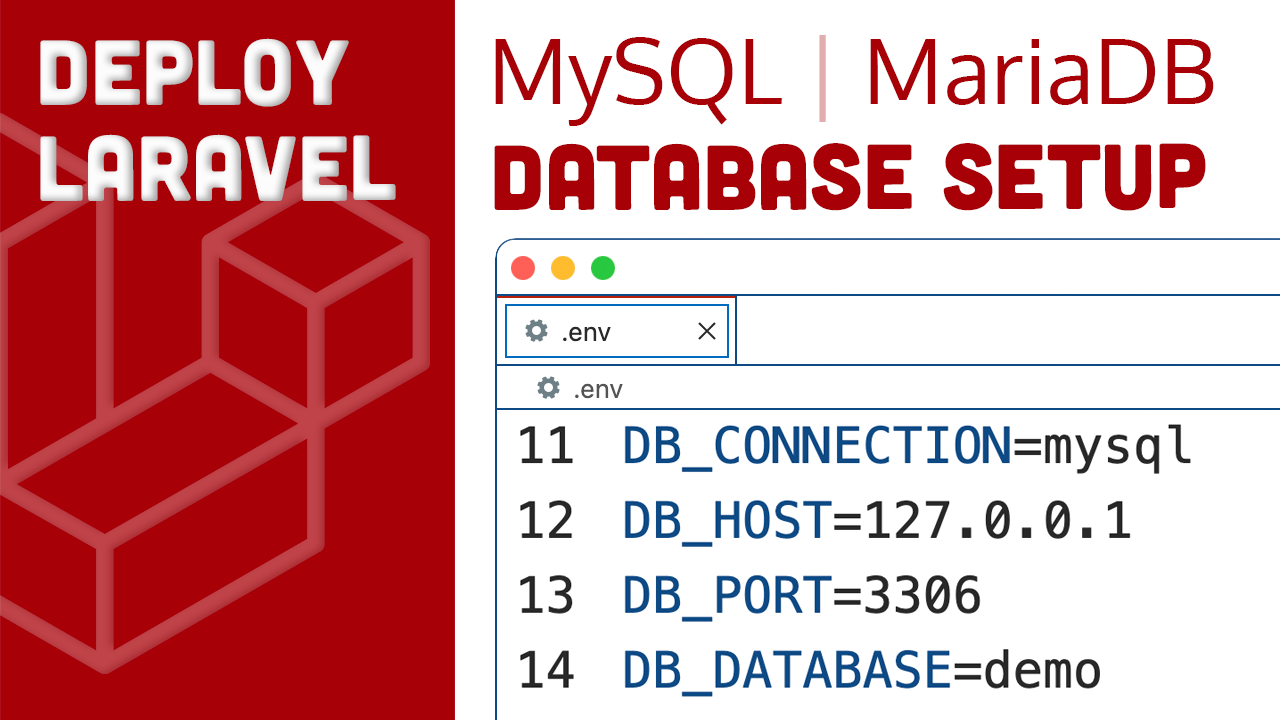 Deploying Laravel - MySQL / MariaDB database setup (Ubuntu)
 mysql_secure_installation Failed! Error: SET PASSWORD has no significance for user root