Video Notes
In order to communicate with Github from our computers/servers we need to authenticate this communication with SSH key pairs.
In a nutshell, the way SSH keys work is you generate a key pair that consists of a private key and a public key. Each key contains a long line of encrypted text.
The private key will exist on the computer/server you’re connecting from and the public key will be installed on Github via your Github account settings.
When you attempt a connection to Github, the two keys are checked against one another and if they match up, the connection is authenticated.

With the big idea behind us, let’s jump in - Step 1 is generating a new SSH key pair on your computer or server...
Generate SSH key pair
Via command line, move into the .ssh directory in your computer or server’s home directory:
> cd ~/.ssh
If this directory does not exist, first create it (mkdir), then move into it:
> mkdir ~/.ssh
> cd ~/.ssh
Next, within the .ssh directory, run the following command to generate a new SSH key pair, replacing Susans-MacBook with some identifier for your computer/server.
> ssh-keygen -t rsa -C "Susans-MacBook"
When it asks you to “Enter file in which to save the key”, it’s asking you to name the key. If you leave it blank and hit enter, it will use the default name of id_rsa. In this example, I’ll opt to use a custom name, susans-macbook.
Enter file in which to save the key (/Users/YourName/.ssh/id_rsa): [Press enter]
When it asks you to create a passphrase, leave it blank and hit enter.
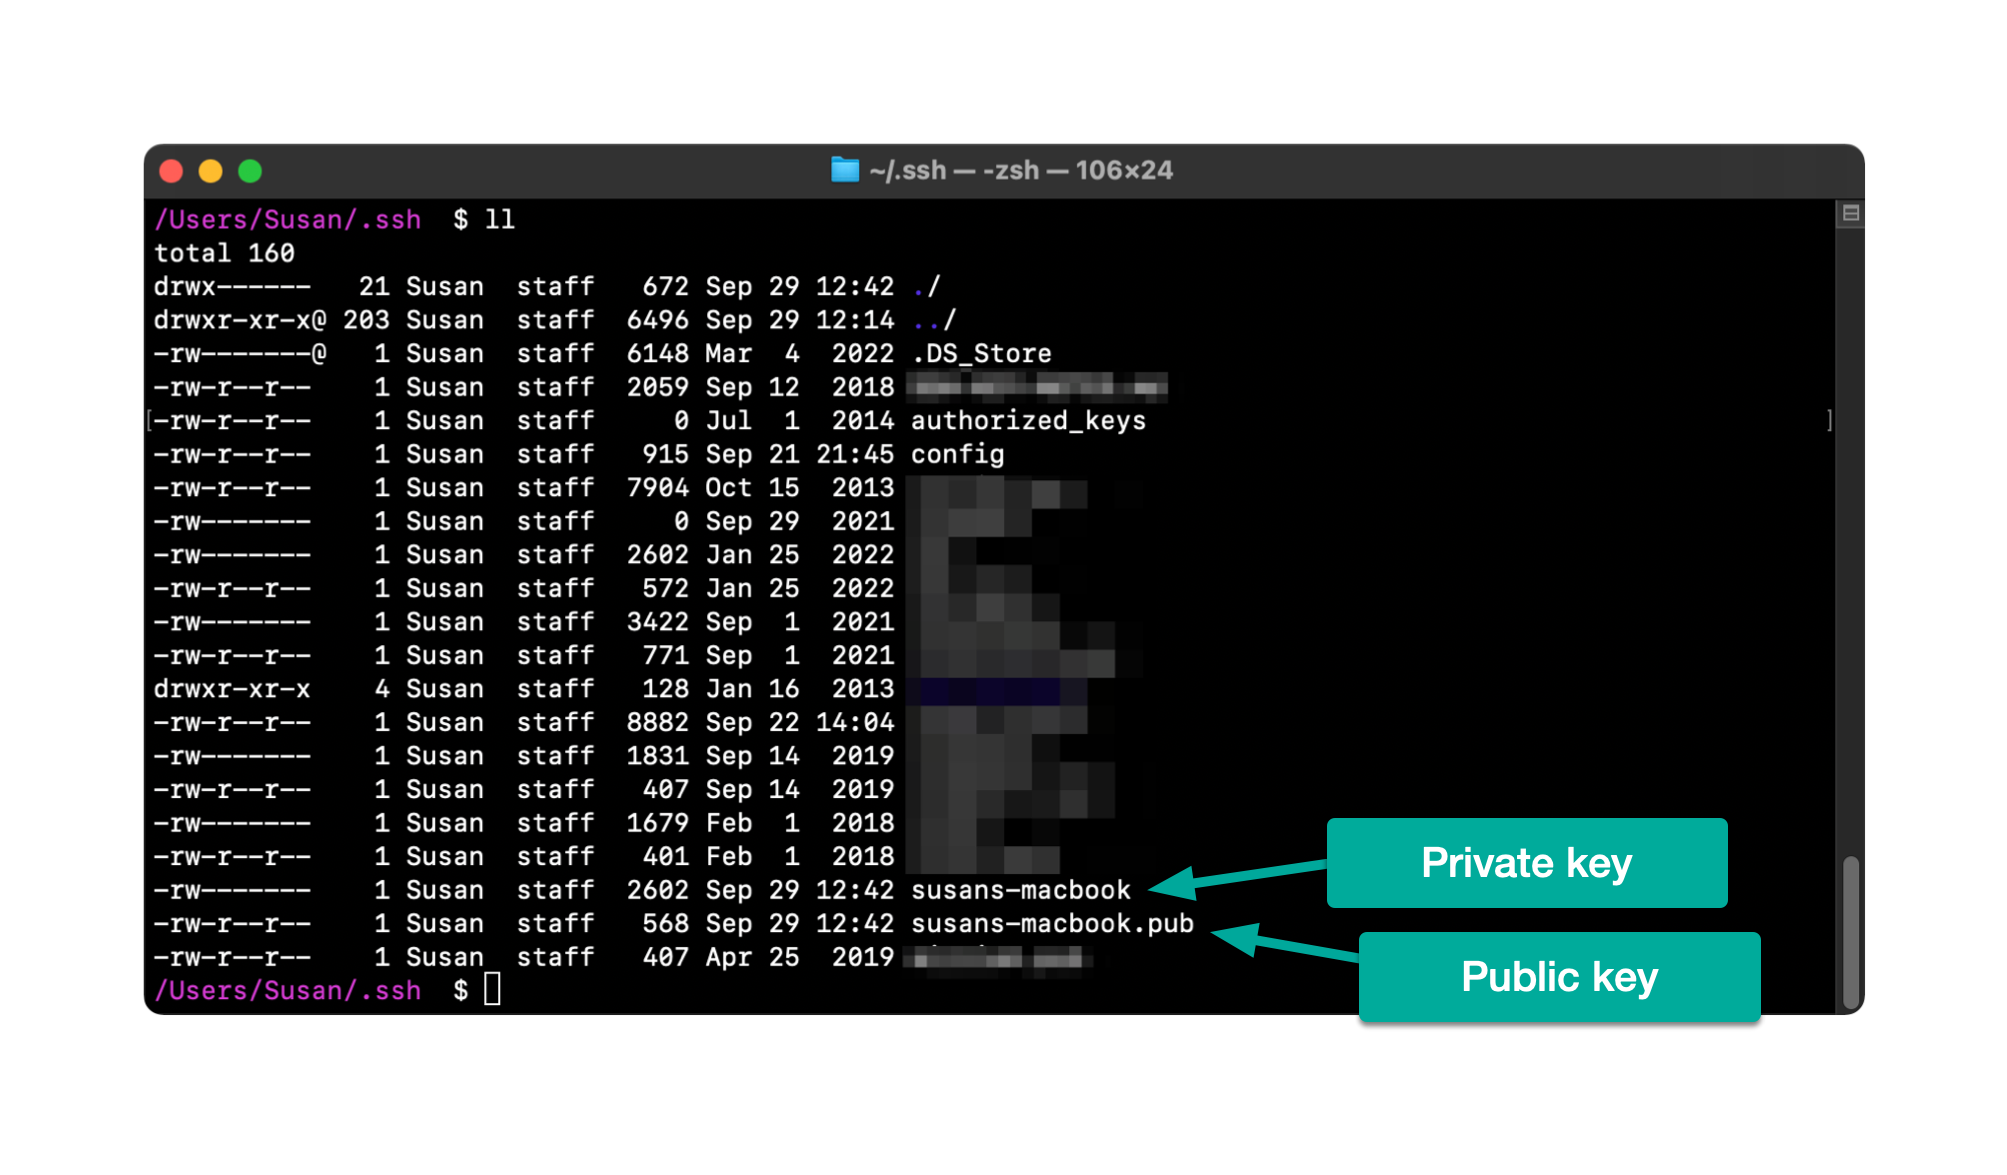
When the above command is complete, list the contents of your .ssh directory and you should see two new key files, which in my example are susans-macbook (the private key, no extension) and susans-macbook.pub (the public key, .pub extension).
Example:

SSH config file
If you used a custom key name (instead of the default id_rsa), you will need to add this key name to your SSH config file so it will be used when you attempt to make an SSH connection. If you used the default name of id_rsa you can skip this step.
To do this, edit (or create if it doesn’t exist) a file called config in your .ssh directory, adding this line to the end of the file (replace susans-macbook with your key name)
IdentityFile ~/.ssh/susans-macbook
Install public key on Github.com
With your key pair generated, we now need to add the public key to your account on Github.com. To do this visit your Github Settings then find the option for SSH and GPG keys. From this page click the button New SSH key:

On the page that follows fill in the details of the public key you generated on your computer/server:

Test it
To confirm everything is set up correctly, run the following command from your computer/server:
> ssh -T git@github.com
If it reports back, Hi [your Github username]! You've successfully authenticated, but GitHub does not provide shell access. then the connection was successful and you know you have set up your keys properly.

Any future SSH interactions between your computer/server and your Github.com account should be successfully authenticated.
If it fails..
If it reports back git@github.com: Permission denied (publickey)., the authentication failed and there’s something wrong in how you set things up.

To troubleshoot this, try undoing the above steps...
- Delete the private and public key you generated on your computer/server
- Revert any changes to your SSH config file
- Delete the key you added on Github.com via the Settings > SSH Keys page
...And carefully redo the above steps again.
If that doesn’t get things working, check out my guide on Fix for SSH Permission Denied (Public Key)
for more troubleshooting suggestions.